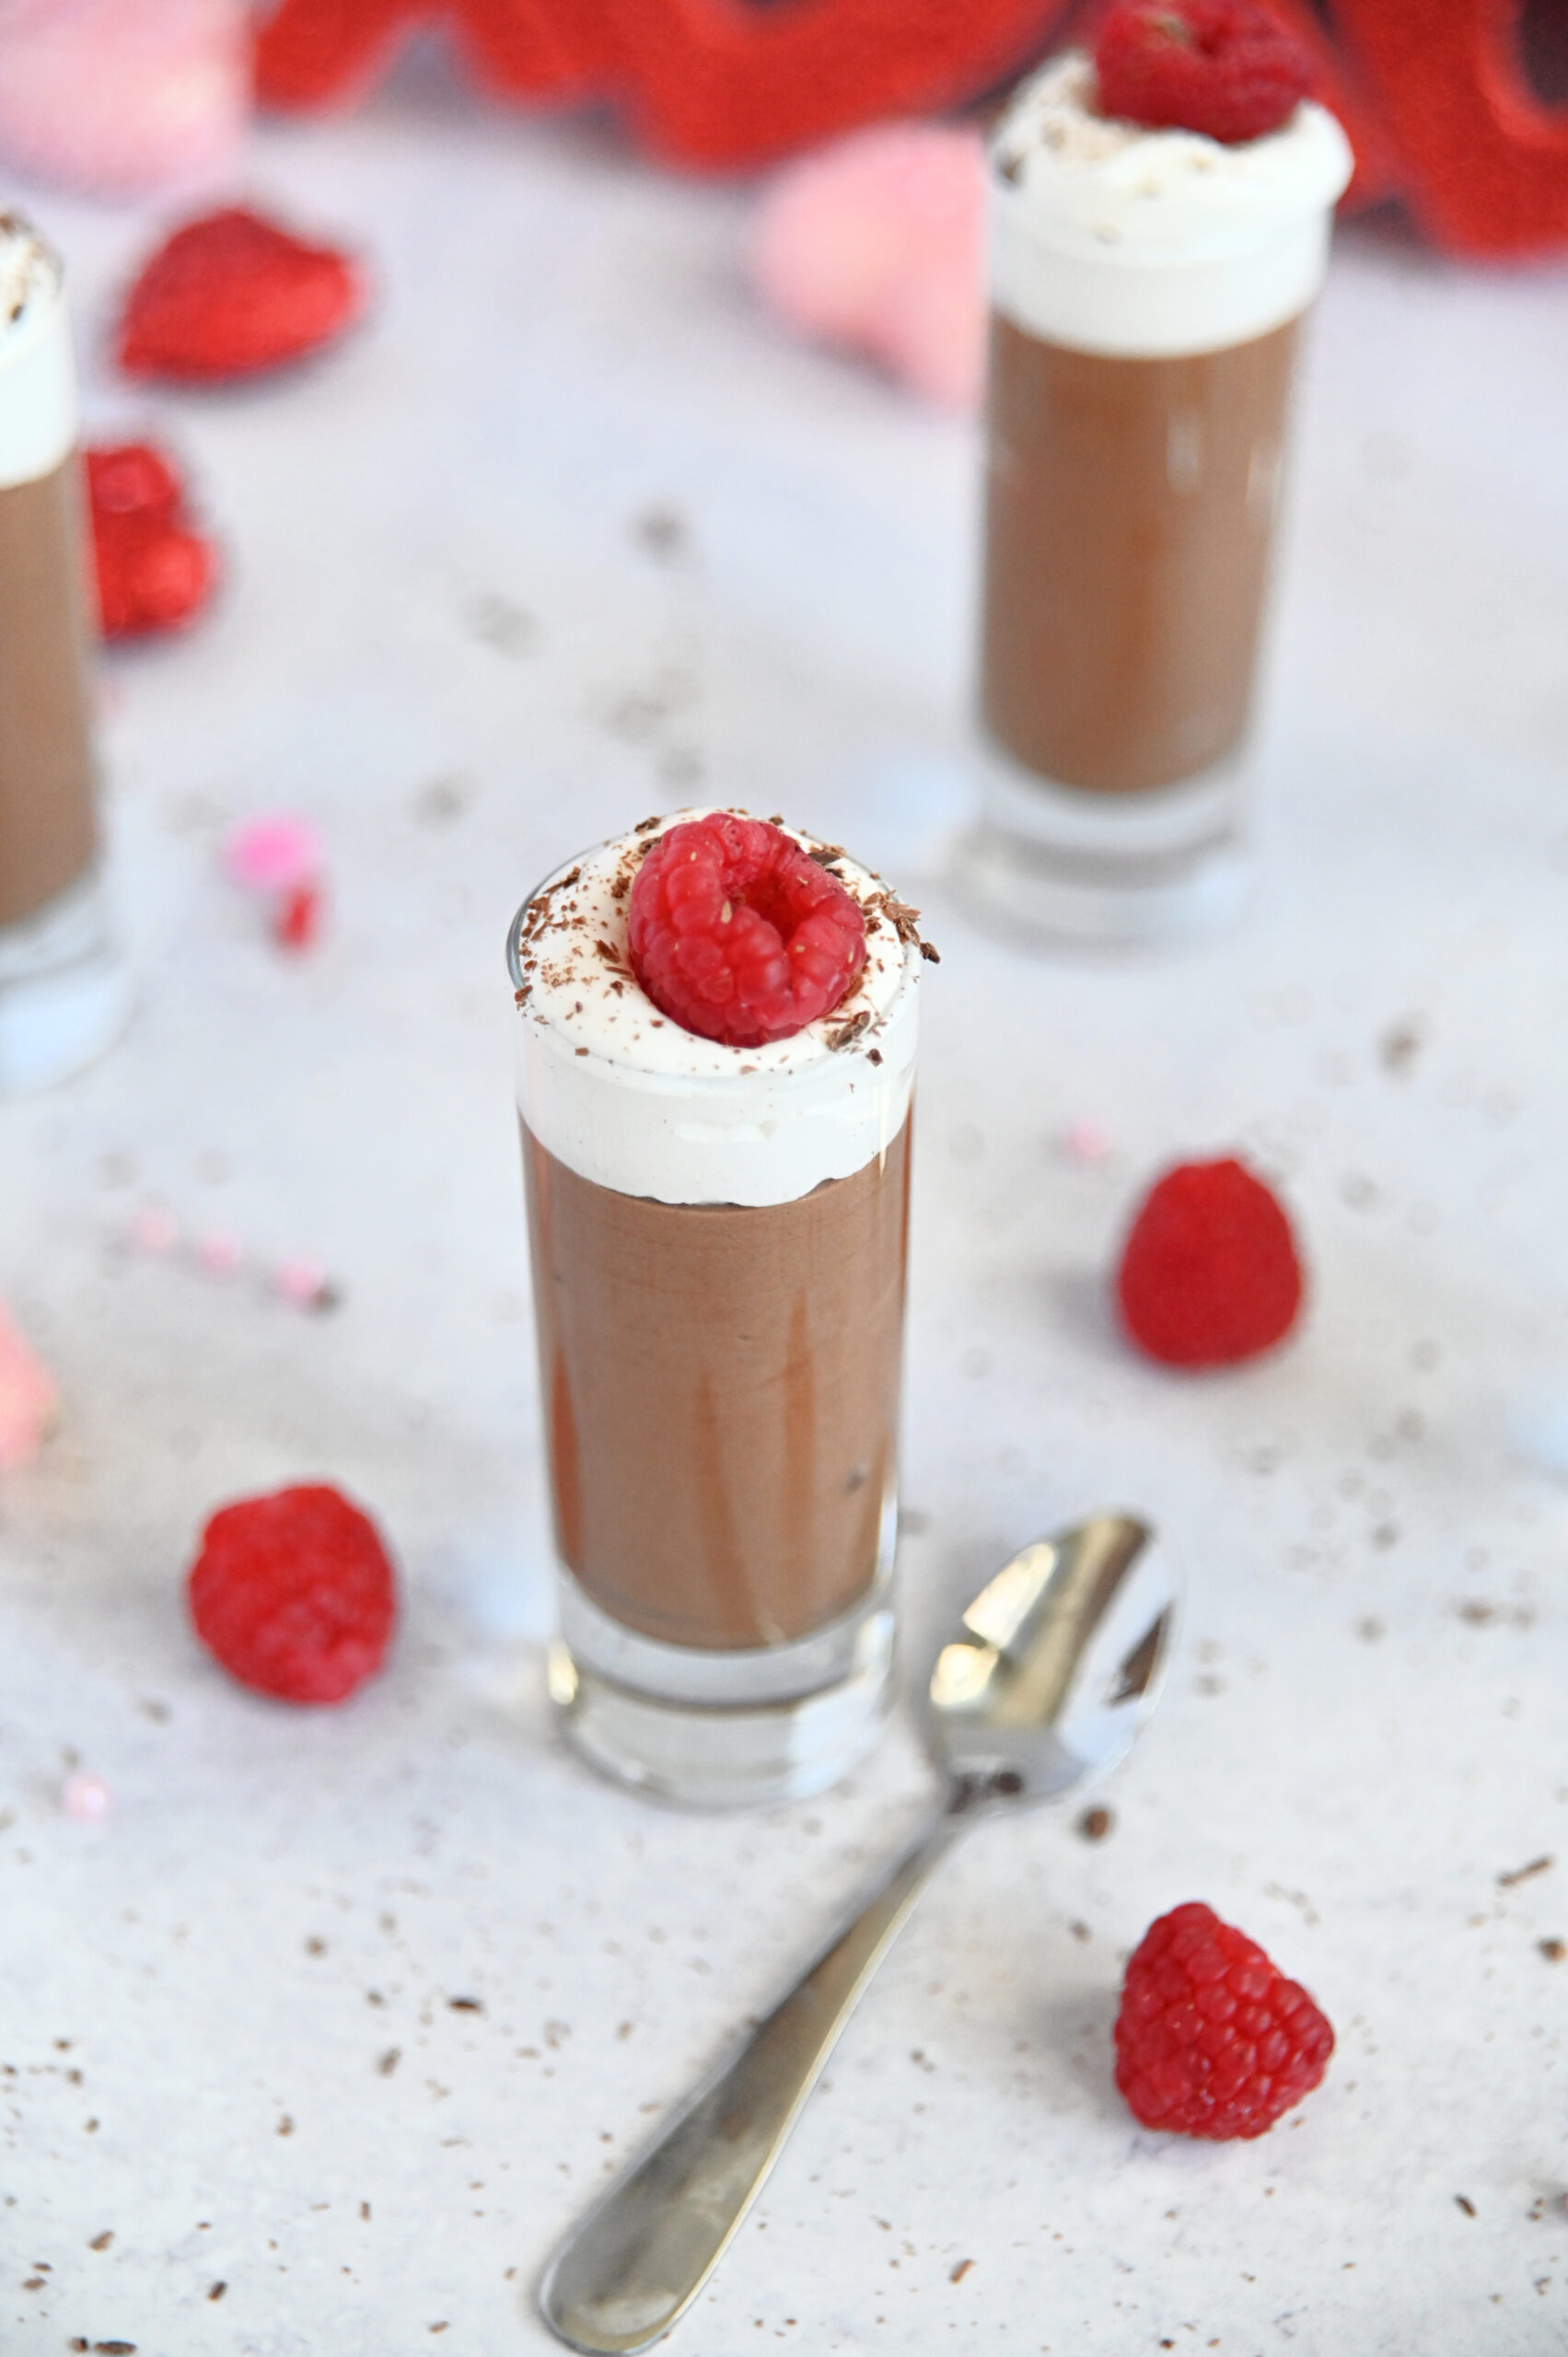
This simple and foolproof version of chocolate mousse is a perfect Valentine’s Day treat! It’s rich, decadent and requires just a few ingredients. Jump down to the recipe to get started!
When it comes to sweetening up their Valentine’s Day, many folks prefer to keep things simple by reaching for the boxed heart shaped confections picked off of the supermarket shelf to share with their loved ones. Simplicity is the spice of life in many cases, and there is certainly nothing wrong with a little store-bought goodness to celebrate a special occasion! For many years I convinced myself to stick to the pre-packaged goodies in an effort to avoid over-complicating things. Sure, those Valentine’s Day recipes on the cover of the magazines in the checkout line were mouth-wateringly gorgeous, but I was certain making my own special dessert for my husband for Valentine’s Dat was just too hard.

But I’ve learned a few things throughout the years in my kitchen about how to create seemingly sophisticated dishes without all of the hoopla and fuss. I like to keep things simple around here for the sake of everyone’s sanity, but that doesn’t mean we can’t enjoy the finer things in life, right? Take this chocolate mousse, for instance. Do you know how easy it is to make a homemade chocolate mousse? It’s crazy simple – and best of all, you probably already have all of the ingredients needed to make it on hand.
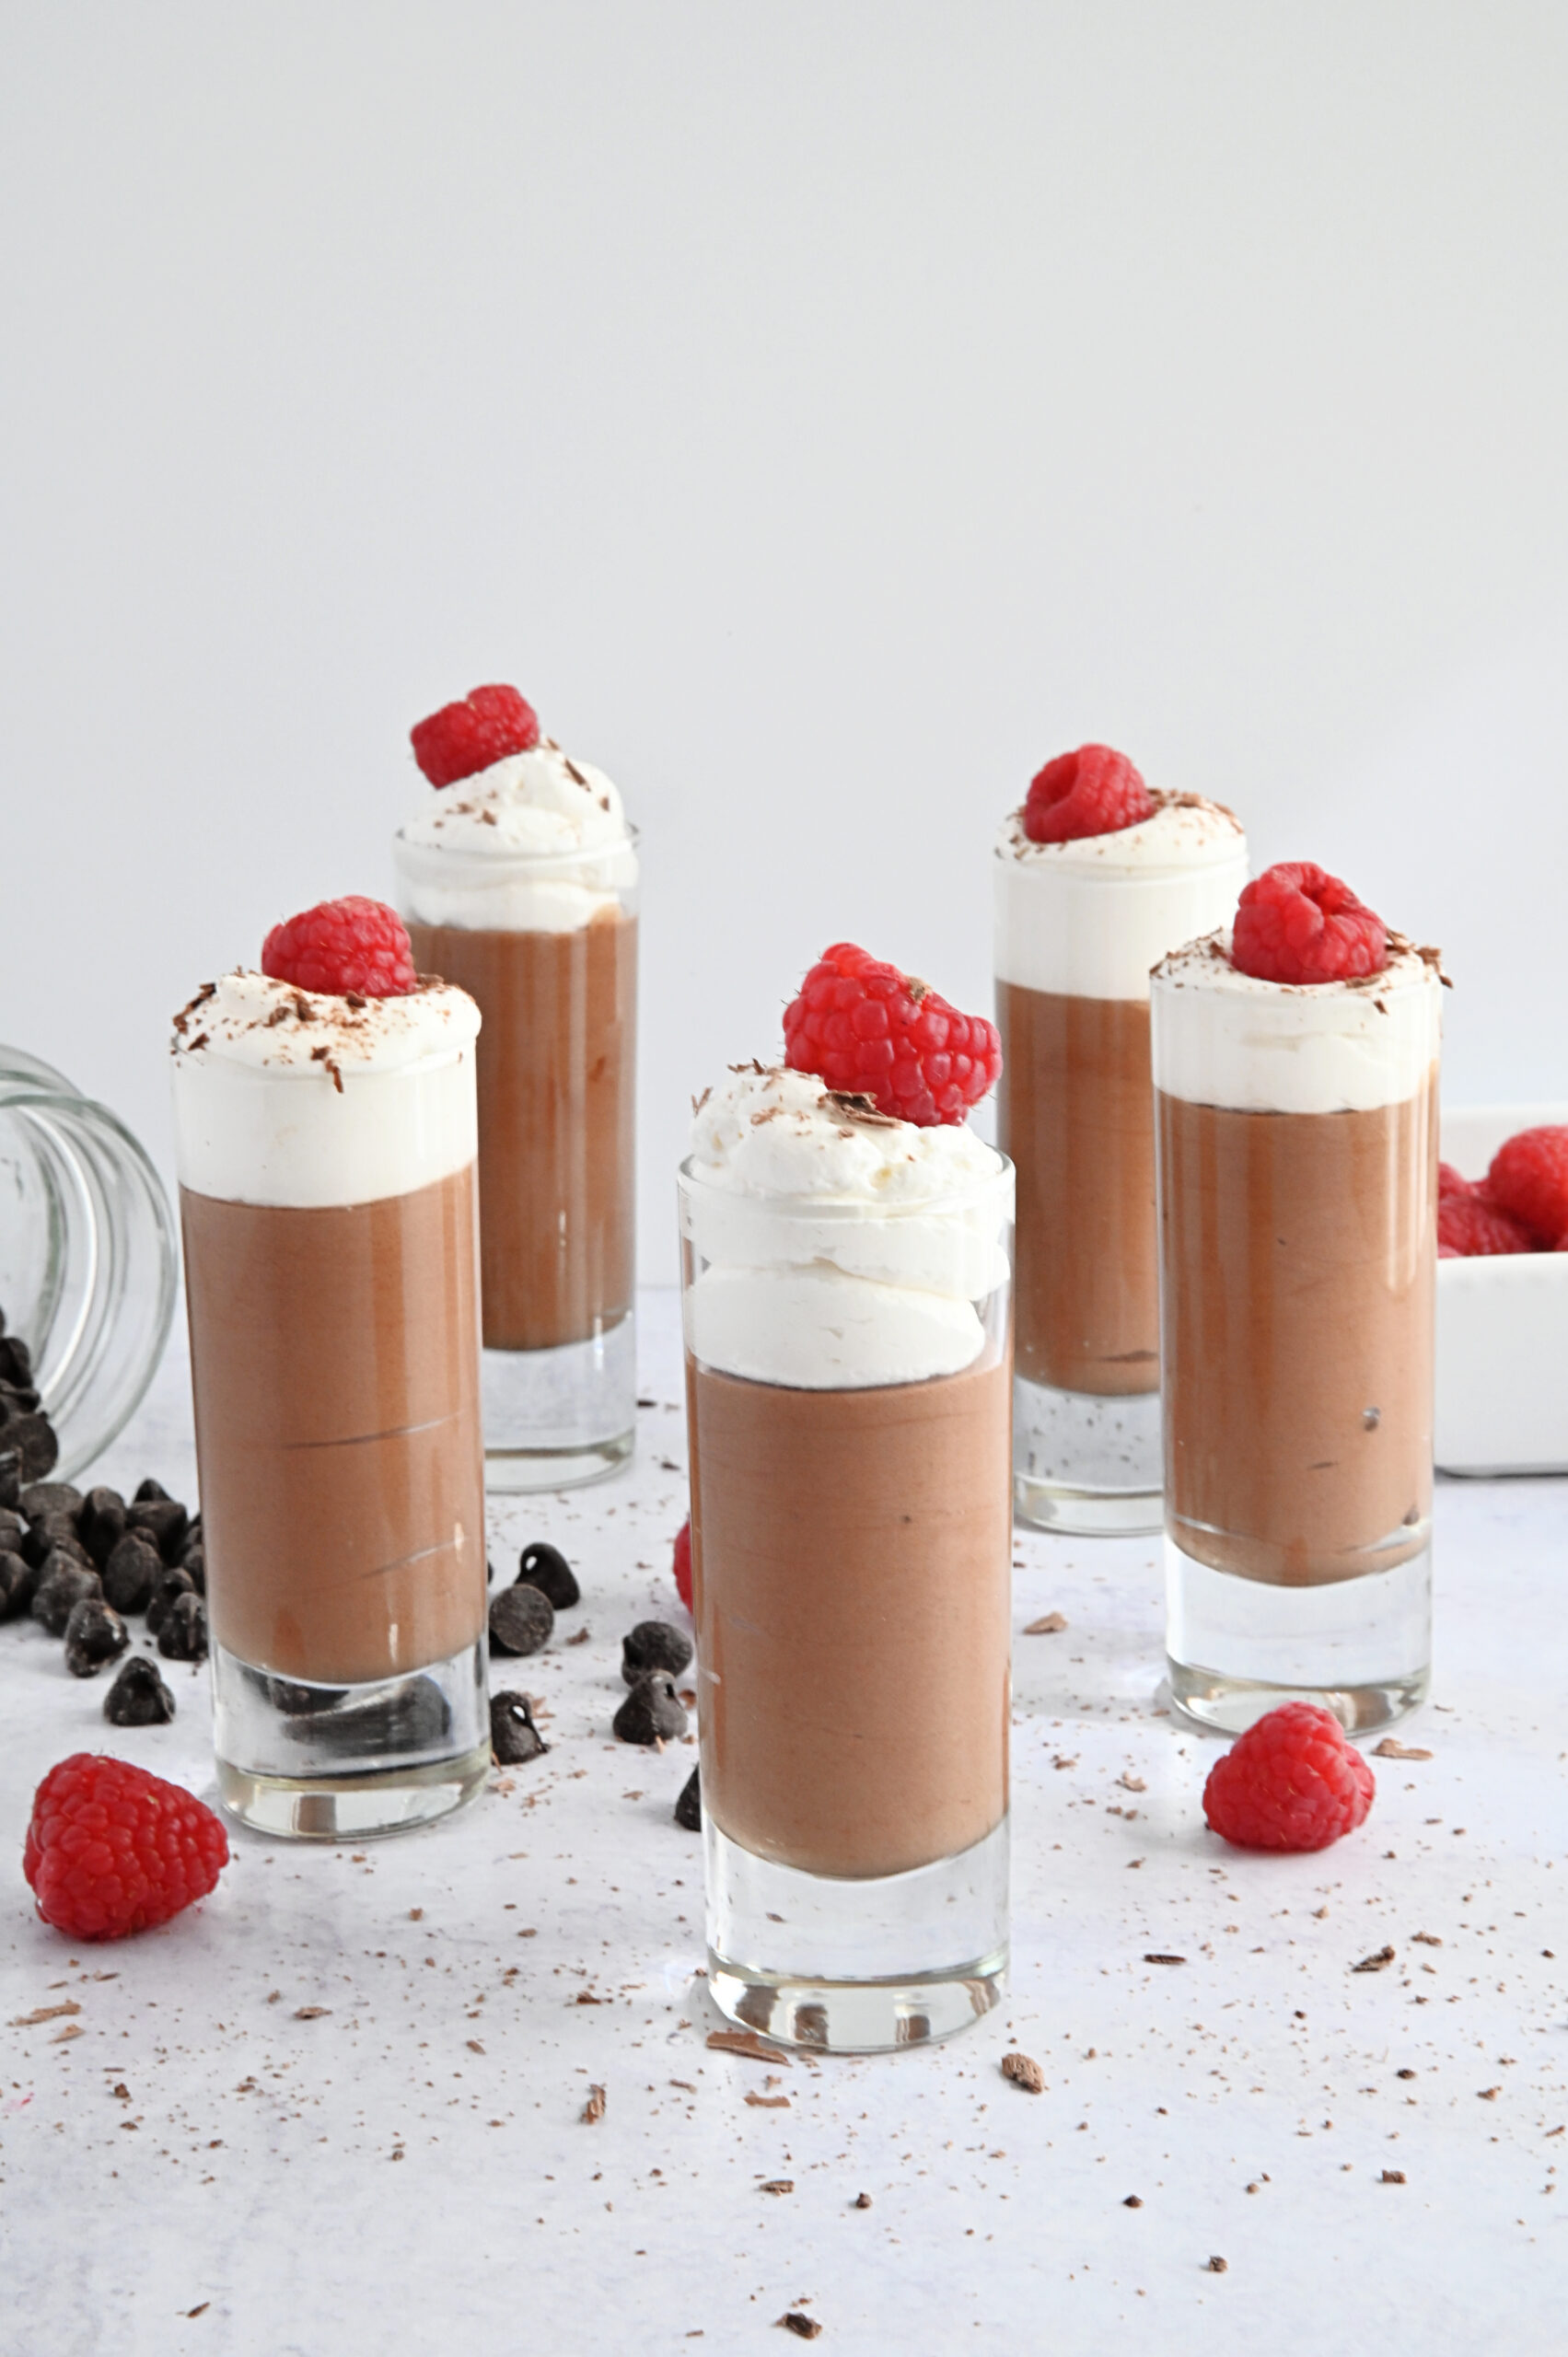
Homemade chocolate mousse is a perfect dish to enjoy for Valentine’s Day, and anyone who takes a bite of this dessert will certainly think you spent a lot of time and effort to make it. The texture is dreamy, the amount of richness from the chocolate is perfect, and the tartness of the fresh fruit on top combined with the chocolaty goodness will give you heart-eyes bigger than a cartoon character – guaranteed!
You’ll want to make sure you have a double boiler on hand for this recipe. If you don’t have a double boiler, no worries! You can simply use a small metal bowl or pot submerged in a larger pot for the cooking process.
Here’s what you’ll need to make this foolproof chocolate mousse:

Fool Proof Chocolate Mousse
Ingredients
- 4 egg yolks
- 1/4 cup white granulated sugar
- 1 1/4 cup heavy whipping cream + 1/2 cup reserved
- 1 cup semi sweet chocolate chips
- 3/4 cup powdered sugar
- Whipped cream, fresh fruit and/or sprinkles for garnish
Instructions
- In a small metal pot, whisk together egg yolks, sugar and 1/2 cup heavy whipping cream
- Place that pot inside a larger pot of simmering water (not quite boiling) and whisk egg mixture constantly until it has slightly thickened (About 7 or 8 minutes) *Make sure egg mixture reaches at least 160 degrees before removing from heat
- Pour chocolate chips in a small bowl and microwave in 20 second increments, stirring each time until smooth and creamy
- Add chocolate into egg mixture and stir until well combined. Set aside and allow to cool down to room temperature
- In a large bowl, whip 1 1/4 cup heavy whipping cream with a hand mixer until it begins to thicken
- Add in powdered sugar and continue to whip until it thickens to whipped-cream texture
- Pour in 1/2 of whipped cream mixture into chocolate mixture and stir. Then slowly add in the chocolate mixture into the remaining whipped cream mixture and stir.
- Divide chocolate mousse into small cups or containers and refrigerate for 3-4 hours until firm
- Top with whipped cream, fresh fruit or sprinkles and serve chilled.
Tried this recipe?
Tag me on Instagram: @SouthernMadeSimple or use the hashtag #SouthernMadeSimple and share your love of southern cuisine!
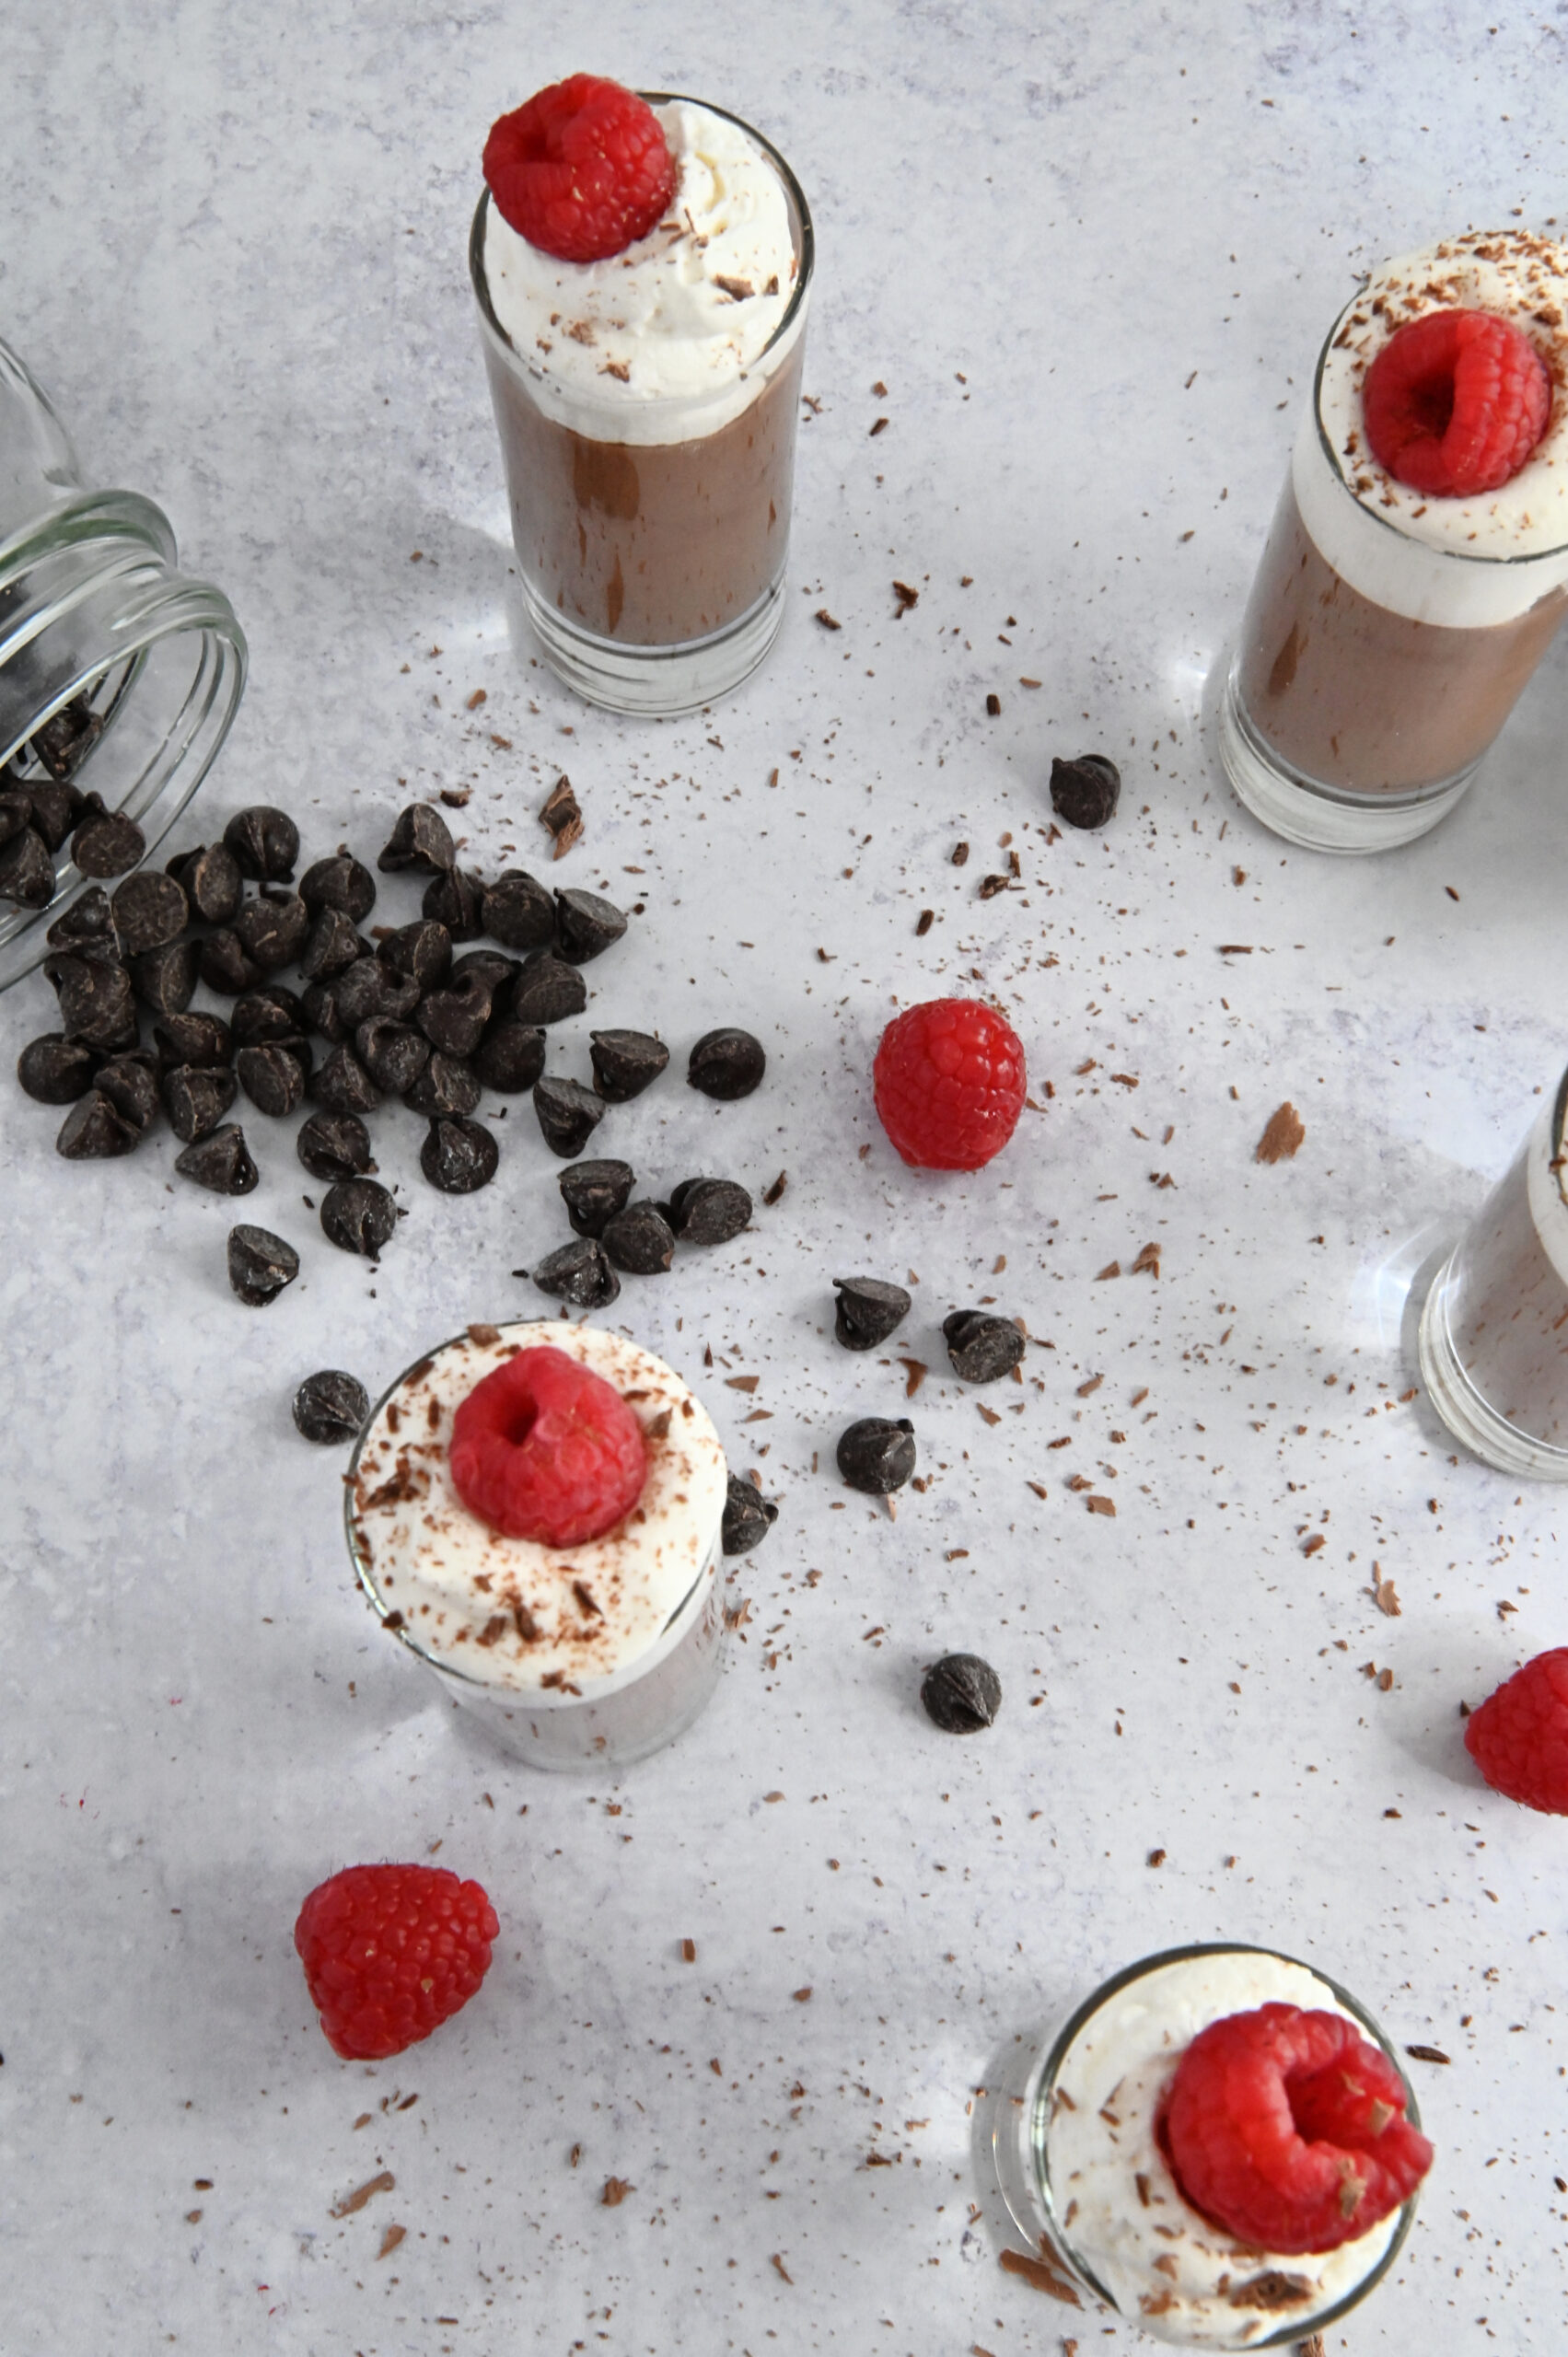
I like to make this dessert the night before so that it has plenty of time to set in the fridge before serving. I typically choose to pipe the mousse into tiny serving glasses to make it look extra fancy, but certainly use whatever serving dish you have on hand. Frankly, it’d suit me just fine eating this stuff out of an old Country Crock butter tub found in the back of the cabinet. Whatever tickles your fancy!
Valentine’s Day dessert doesn’t have to be complicated. Go ahead and grab some eggs, heavy whipping cream, sugar and chocolate chips and make a little magic in the kitchen to share with your loved ones! This chocolate mousse is simply sophisticated, and it’s sure to be a must-make every year when Cupid comes to town. You can also spruce up this fool-proof mousse for any given holiday – just add gold sprinkles for St. Patrick’s Day, robin’s eggs for Easter, peppermint flakes for Christmas, etc. The possibilities are endless!
I truly hope your Valentine’s Day is filled with overflowing sweetness and love. From my kitchen to yours – Happy Valentine’s Day!
Looking for more Valentine’s Day recipes to try? Take a look at these – found right here on Southern Made Simple!
Valentine’s Day Sugar Wafers | Strawberry Brownies | Chocolate Covered Cherry Pancakes | White Chocolate Dipped Strawberry Madeleines | Strawberry Milkshake Cookies