A few weeks ago I stumbled upon a pile full of treasures at one of my Granddaddy’s old storage sheds. Much to my surprise, there were piles of old doors, window frames, pallet boards and even a chalkboard that was salvaged from an old school house.
Basically, I hit the Pinterest DIY-er’s jackpot. My mind instantly started brainstorming of ways I could re-purpose some of these pieces and use them in my home. I’ve always loved the “farmhouse” look, so I was absolutely beside myself knowing I’d get to give a new life to these old wooden pieces!
I really wanted to jump right off the deep end and paint everything right away, but I decided for the sake of my husband’s sanity that I’d just start one project at a time. The weather has been absolutely beautiful this weekend, so I decided to take advantage of that and break out the paint buckets.
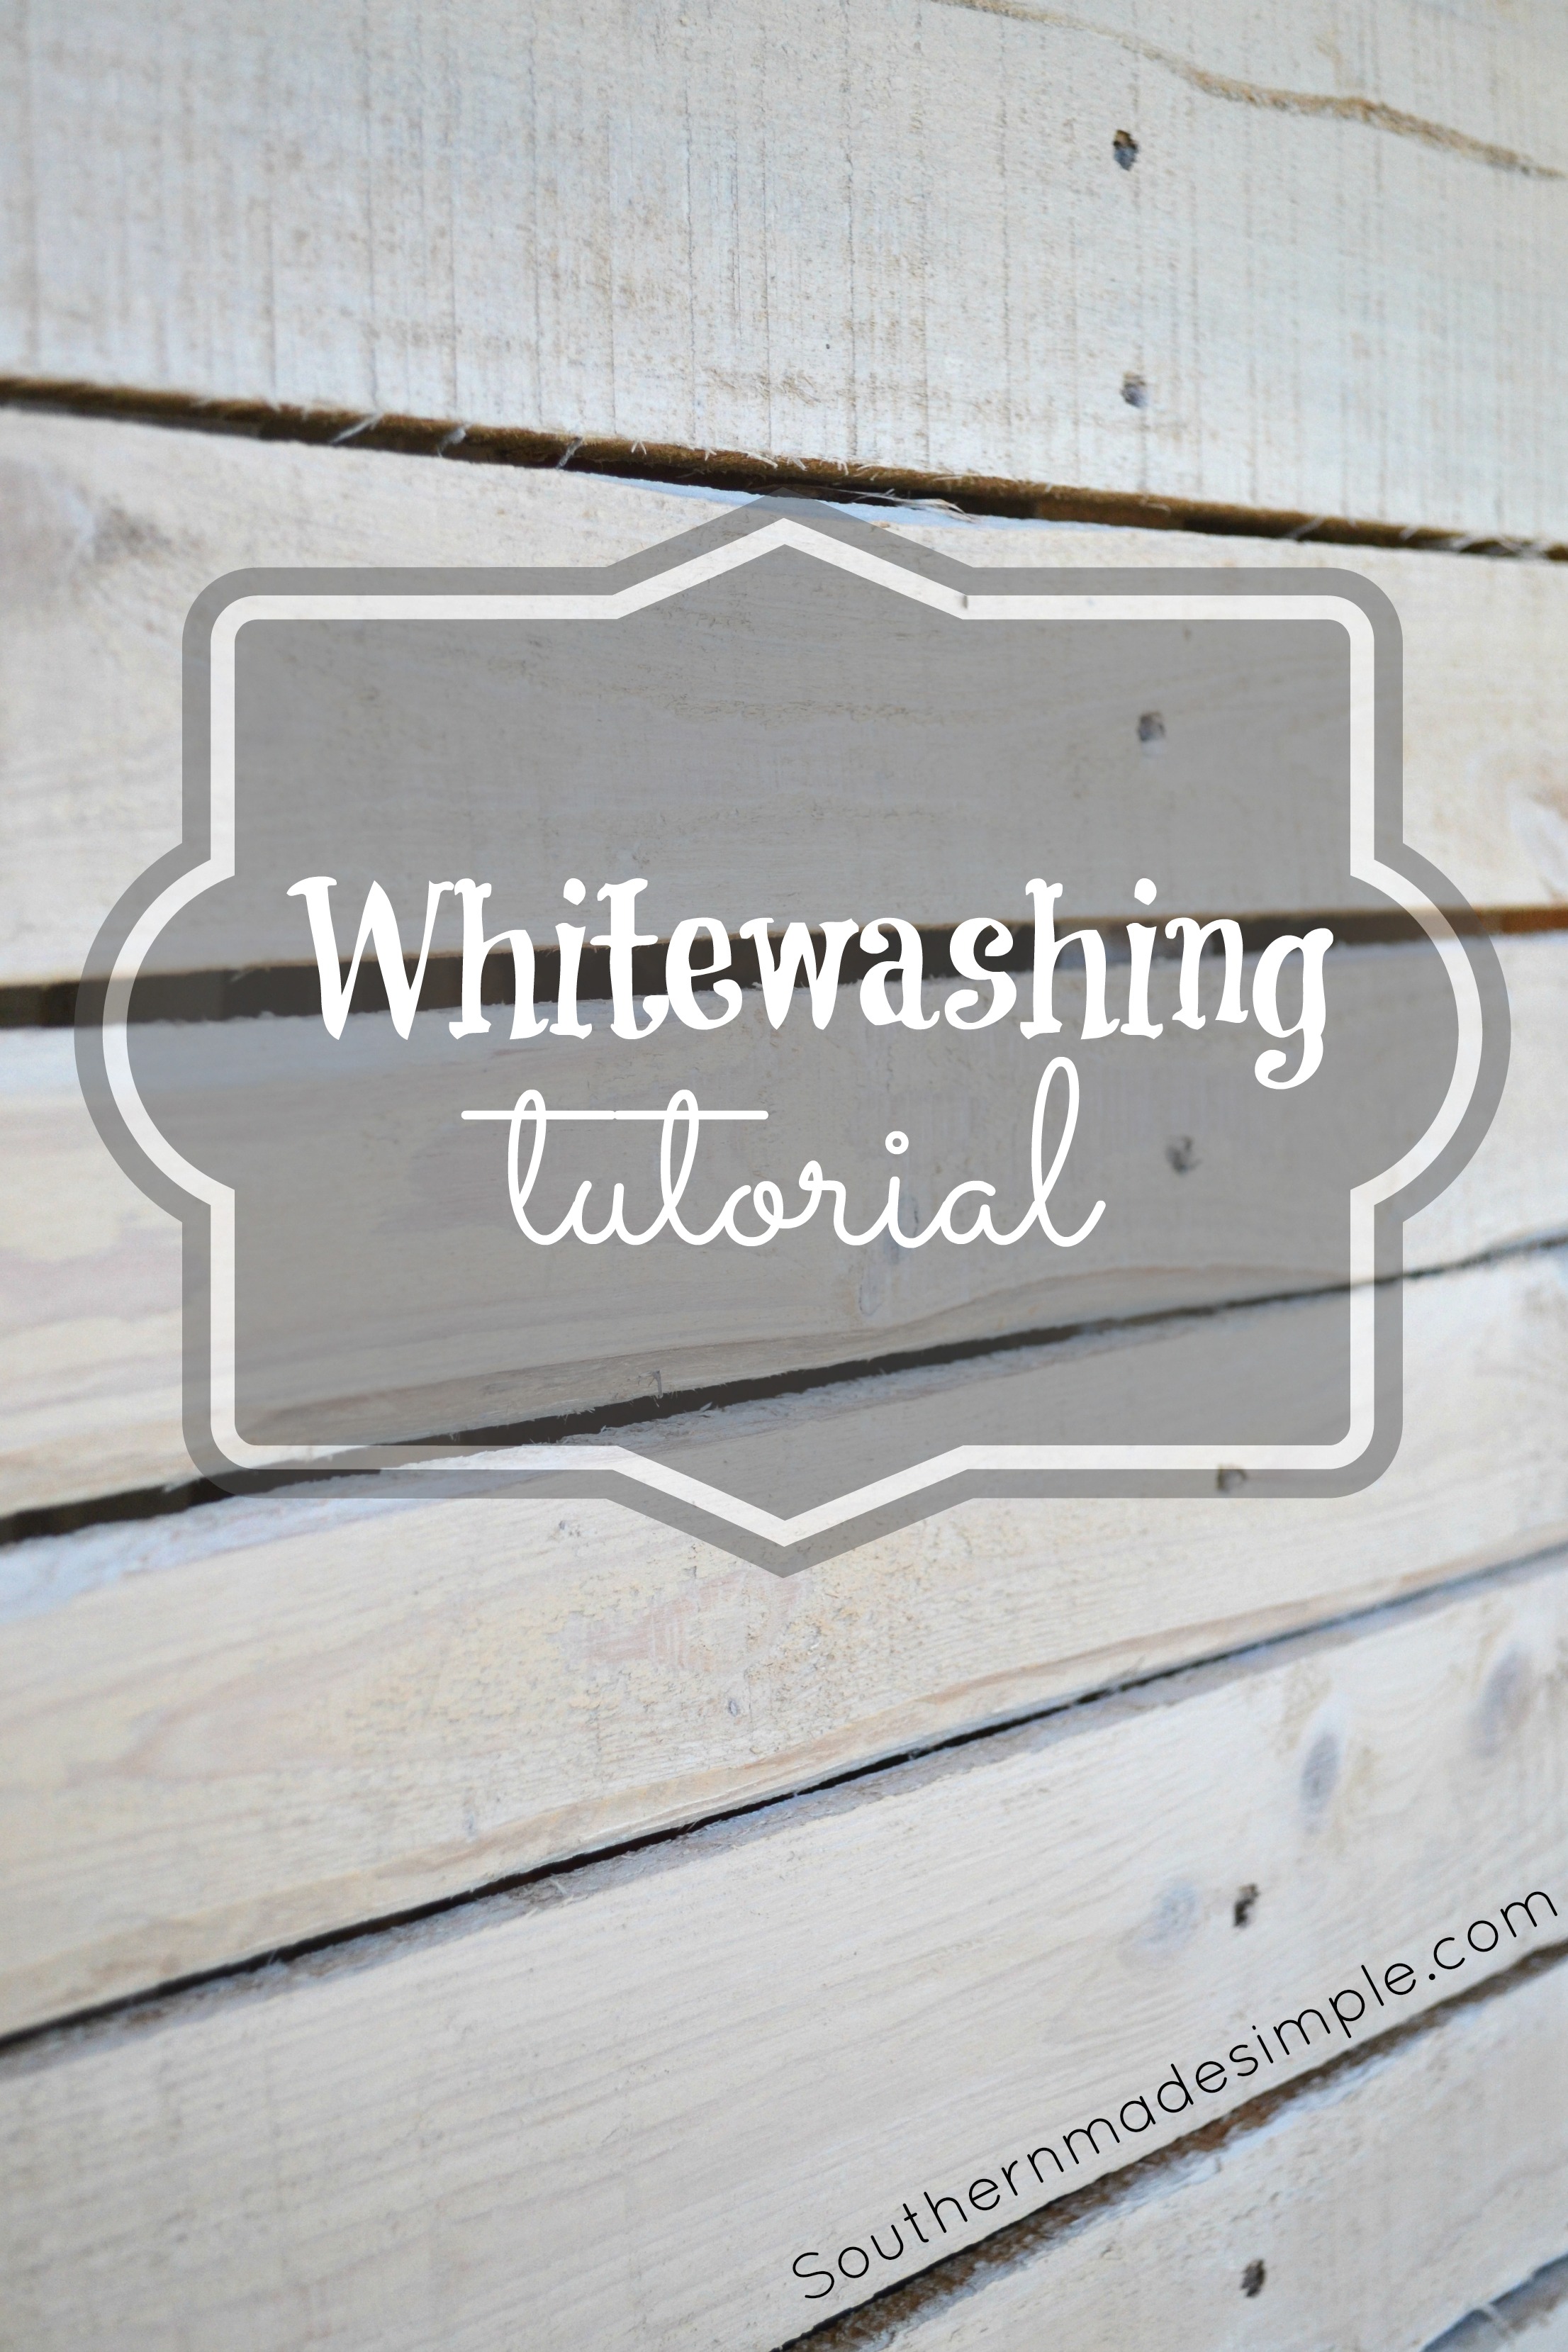
My first project is going to be a piece of wall art for our bedroom made from pallet board. To match the theme of our room, I knew I wanted this piece to be white, but I really wanted it to look weathered and rustic. After I did a little bit of research, I decided whitewashing the wood would be the perfect option to achieve the look I was going for.
[the_ad id=”1231″]
The process only took about 30 minutes and was so simple to do. It’s also super cheap to complete which is a huge plus! We picked a pallet out of the pile that we liked. It’s perfectly imperfect, which is just the look we were going for. If you have the proper tools, you can easily shape the wood to look however you’d like. We kept ours as is.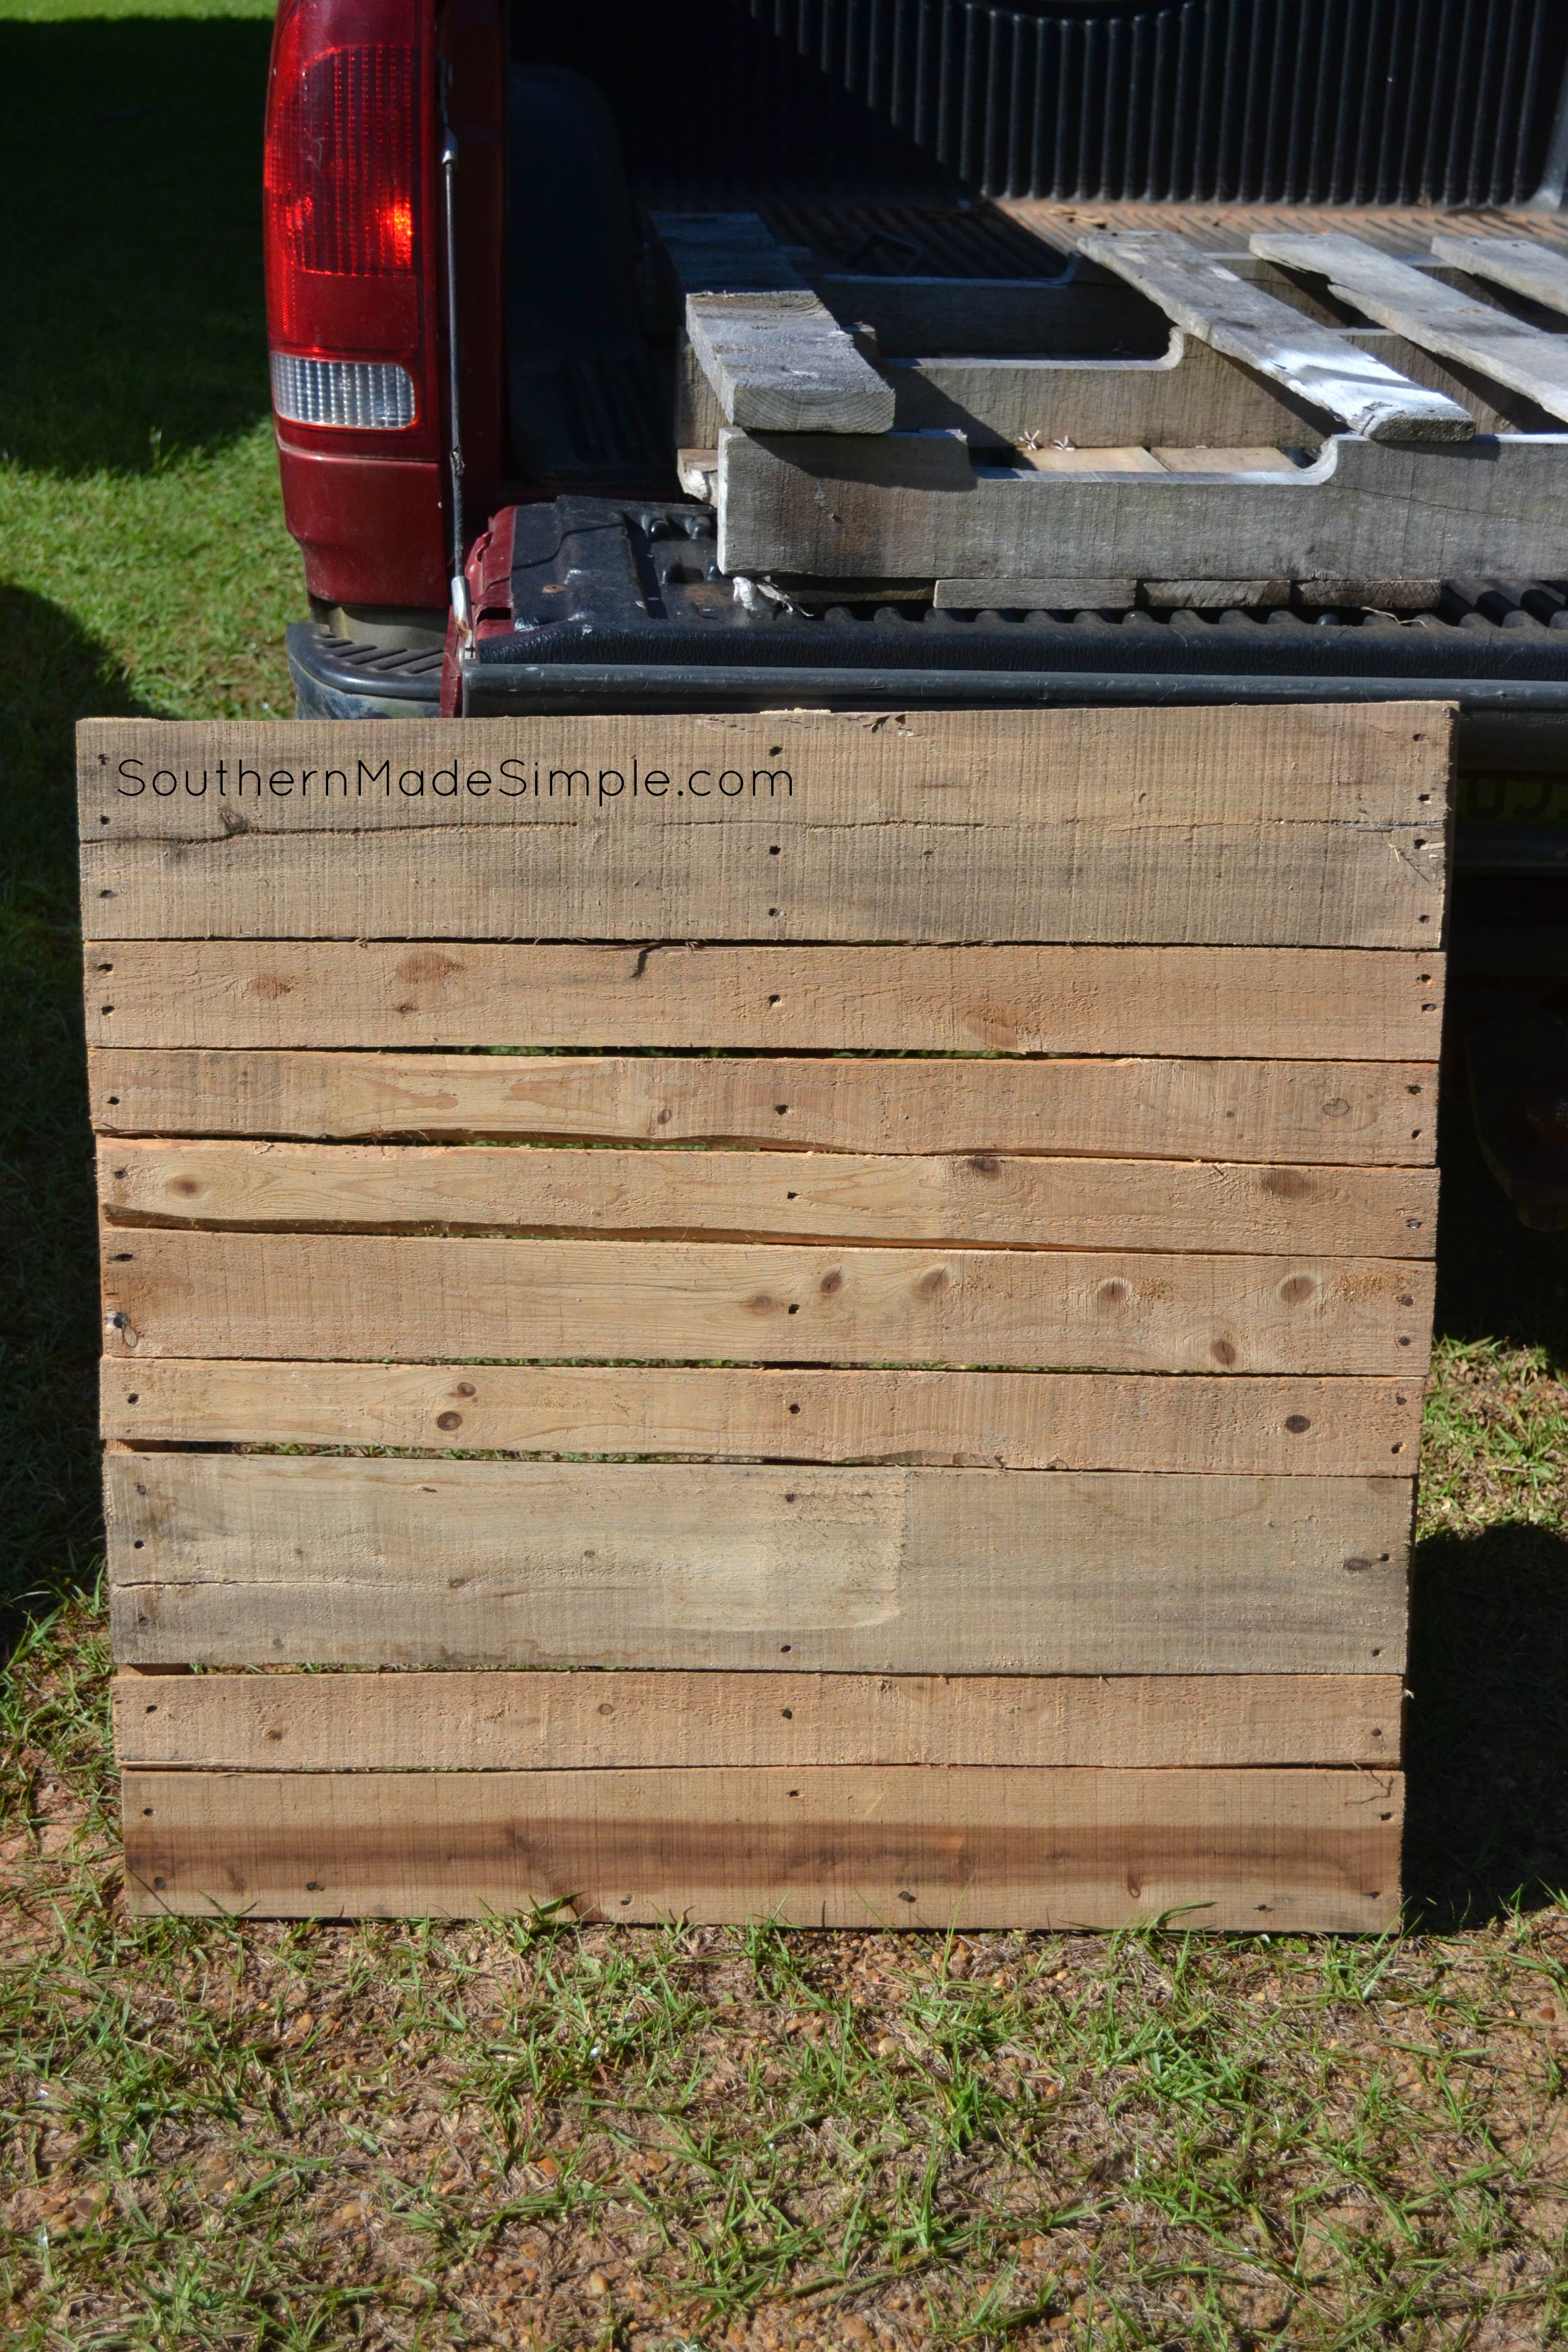
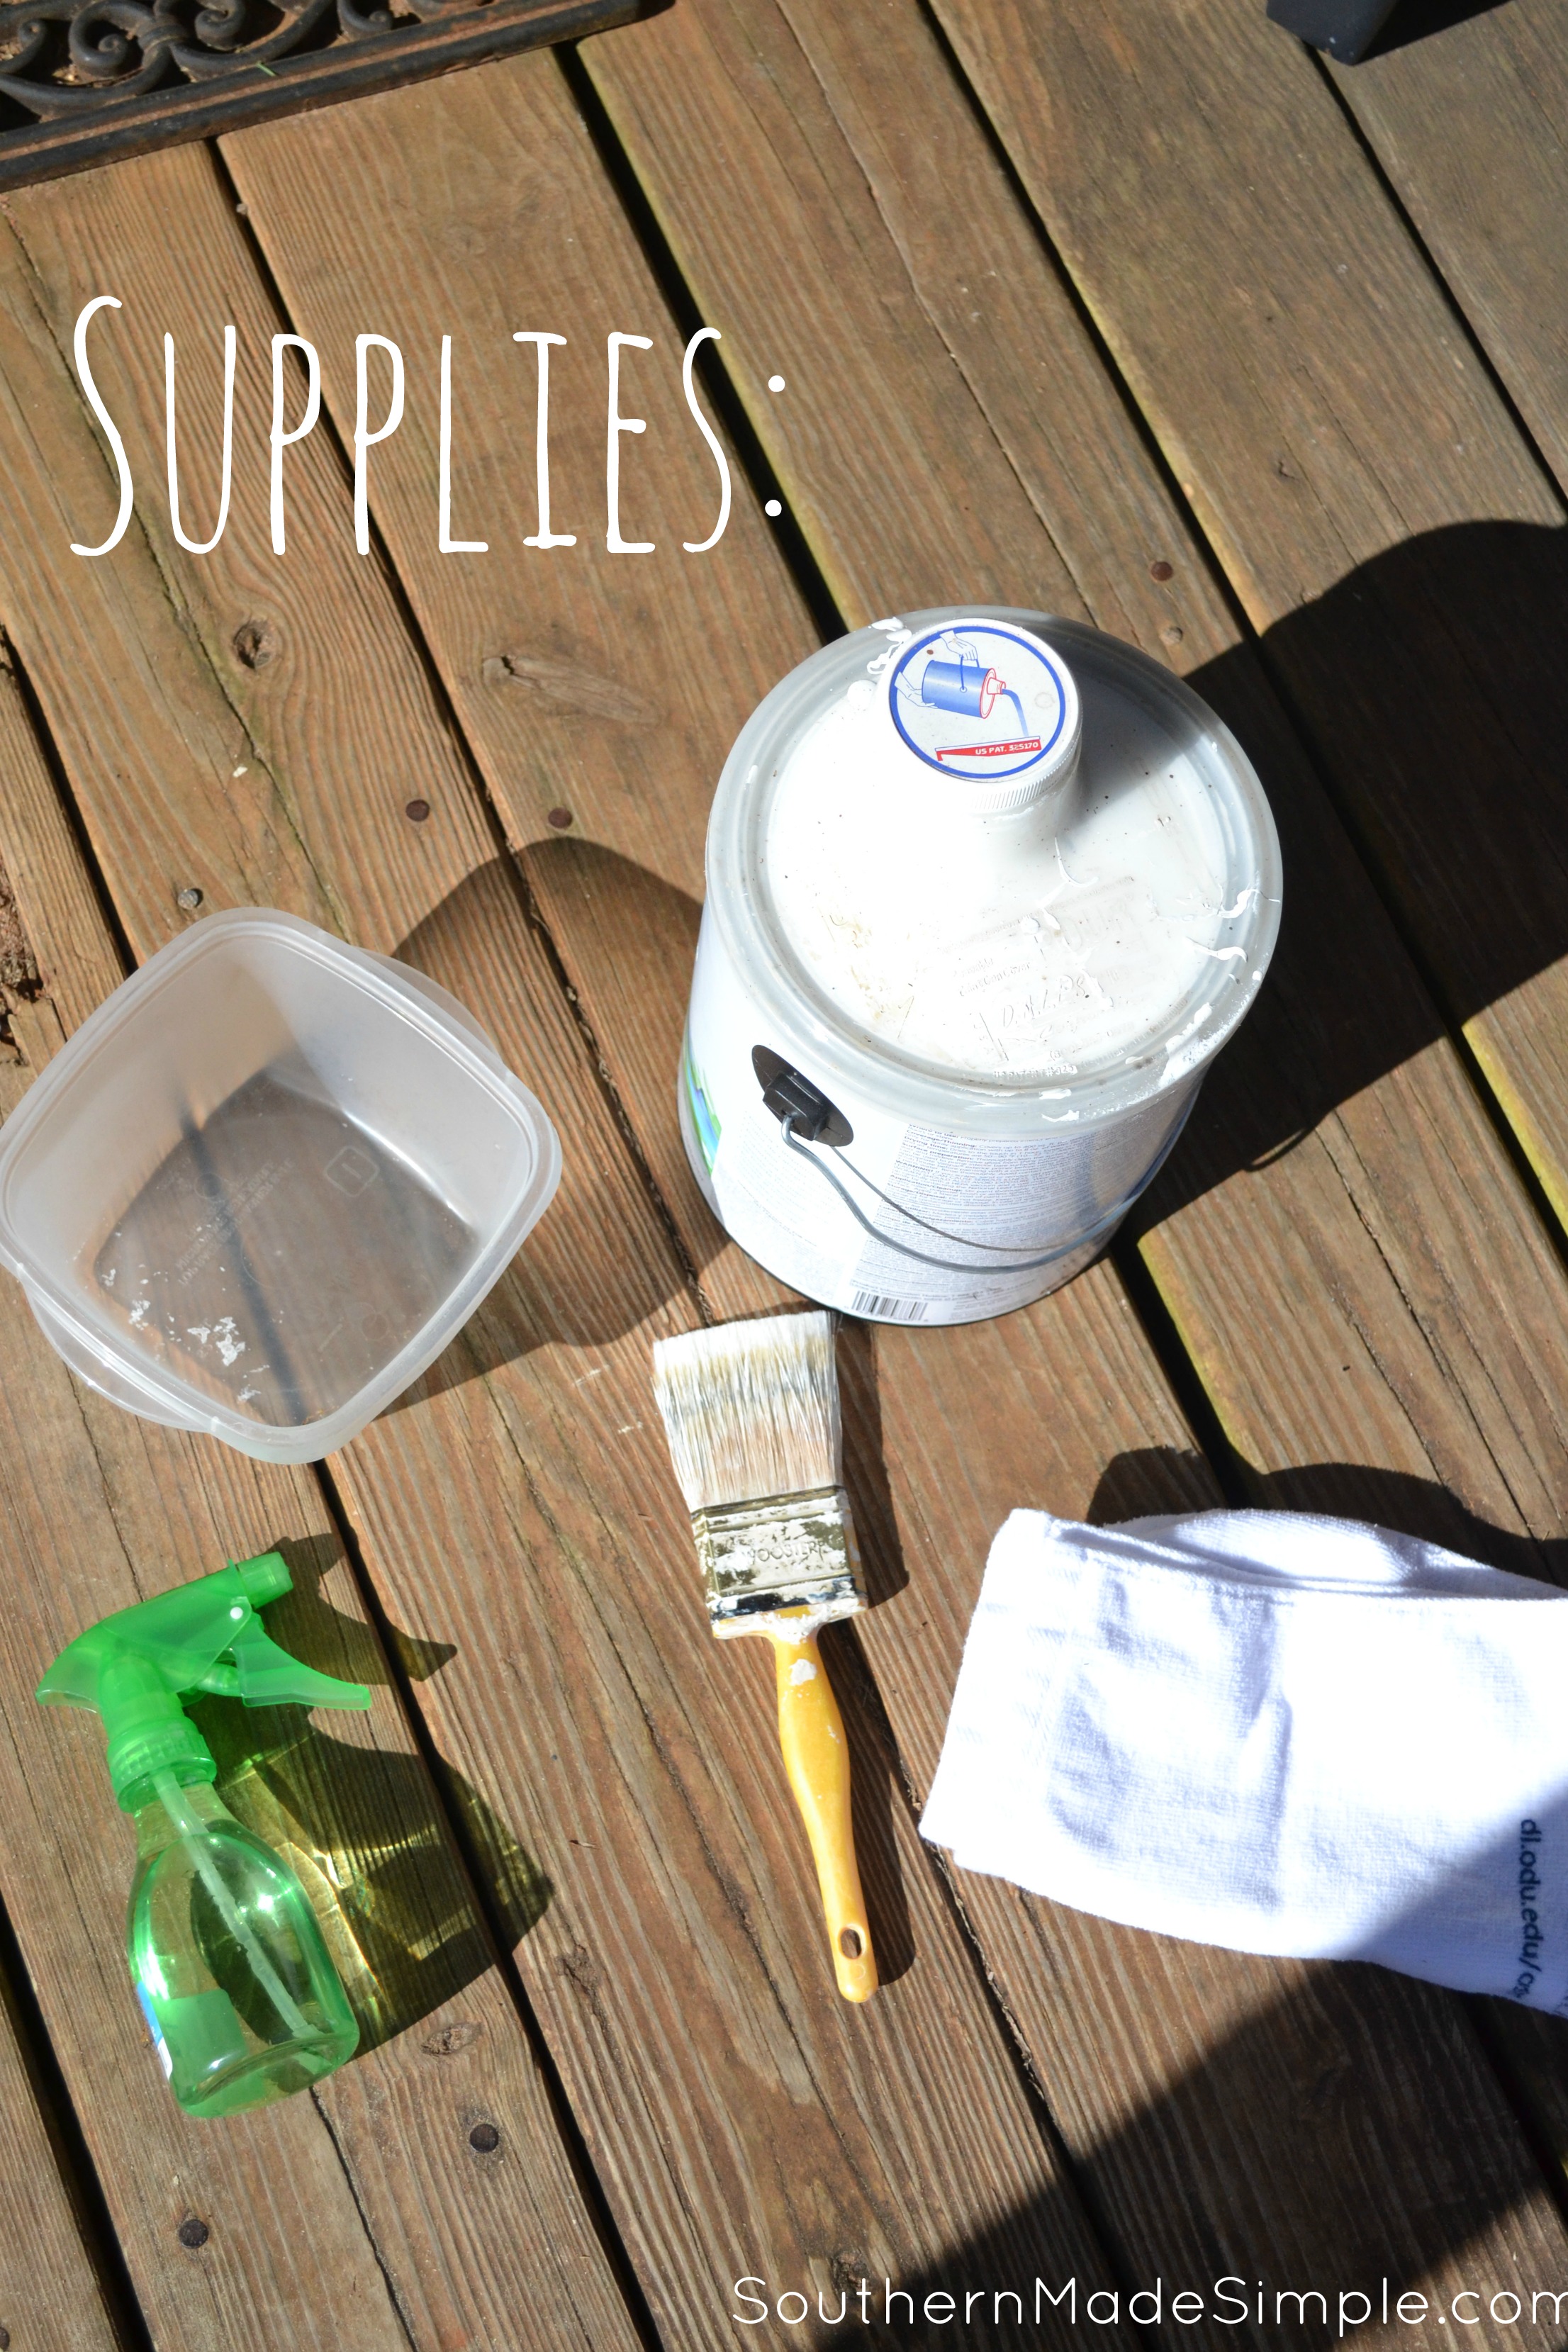
You’ll need just a few things to get started. Here’s what we used:
- Paint (Flax white latex paint works well)
- Small plastic bucket
- Paint brush
- Old rag
- Water
- Spray bottle with extra water (optional)
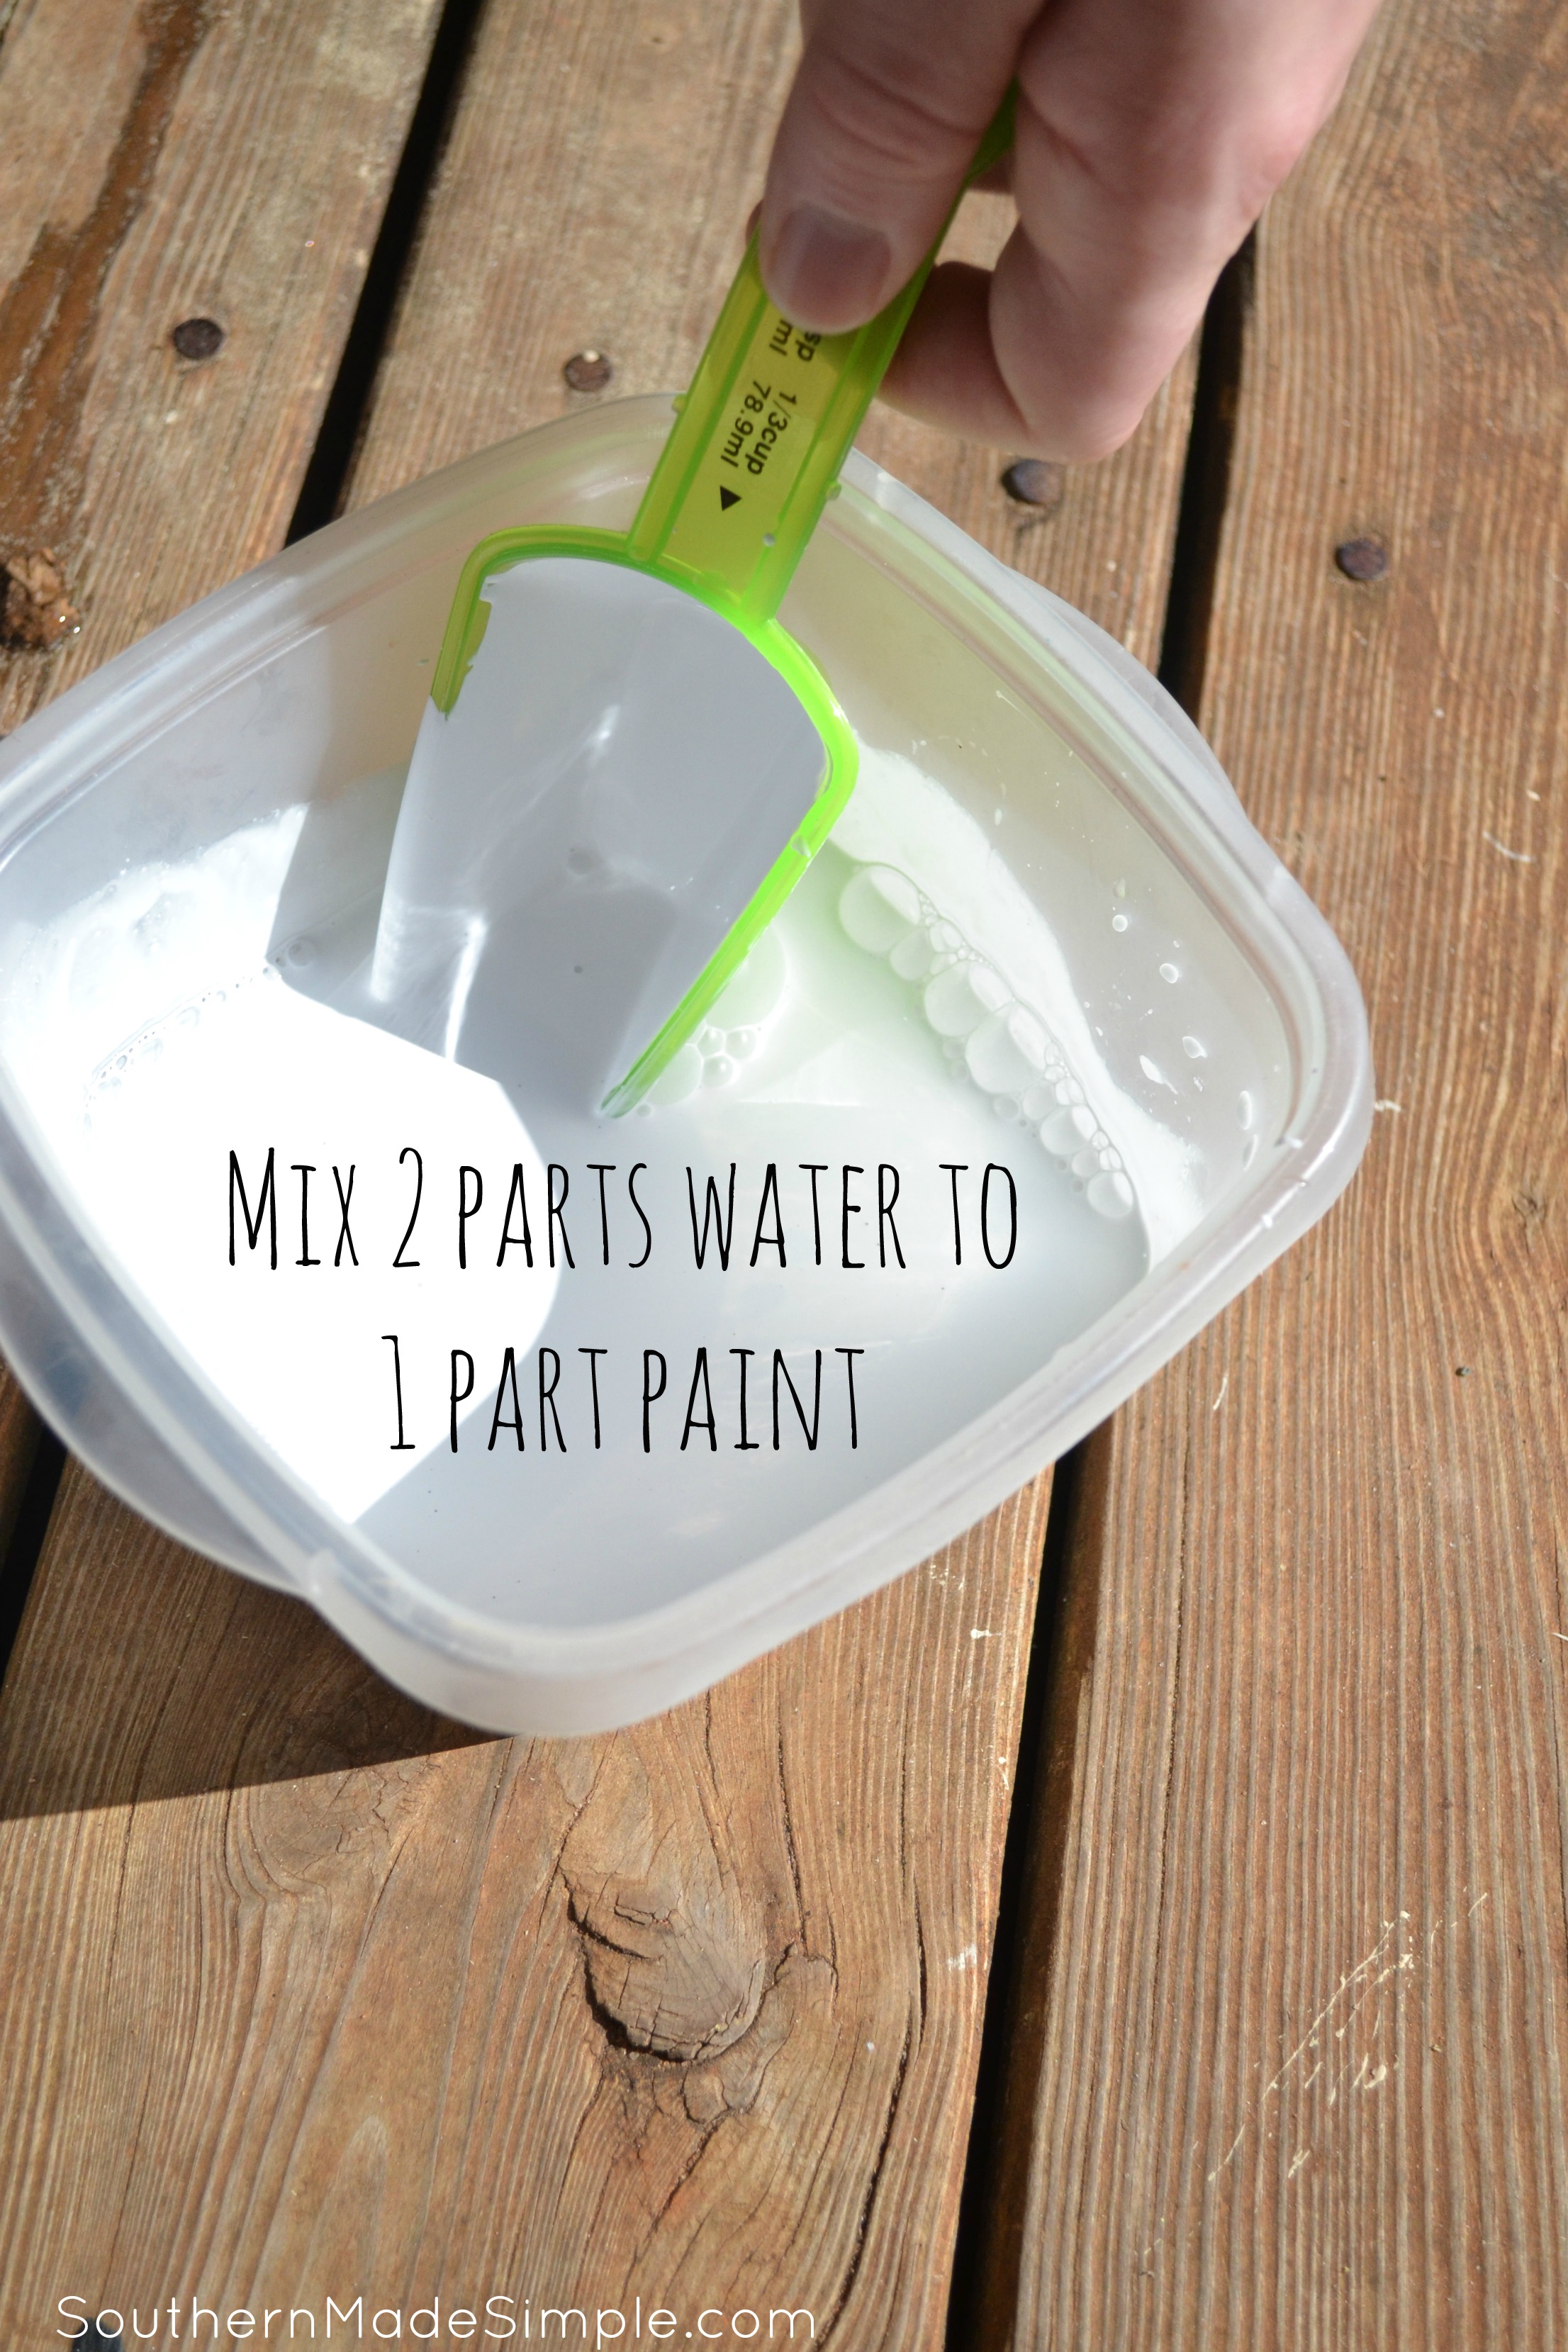
To get the proper paint consistency, it’s really going to depend on how dark you want the wash to be. We went really light with the paint on this particular project. We used 2 parts water to 1 part paint. Specifically, we used 2/3 cup water and 1/3 cup paint. It seemed like the perfect amount to do 3 coats, and it could have easily done a 4th. If you’ll be painting a bigger surface, you may want to up the measurements. You’ll need to stir this continuously throughout the project with your paint brush to prevent any of the oils from separating.
Before you start painting, you’ll want to take a dry rag and dust off any lose dirt or wood shavings that may be lingering on the board. (Note: The rag that you’re using needs to be a work rag that will be used just once. It’s going to get very dirty during this project!)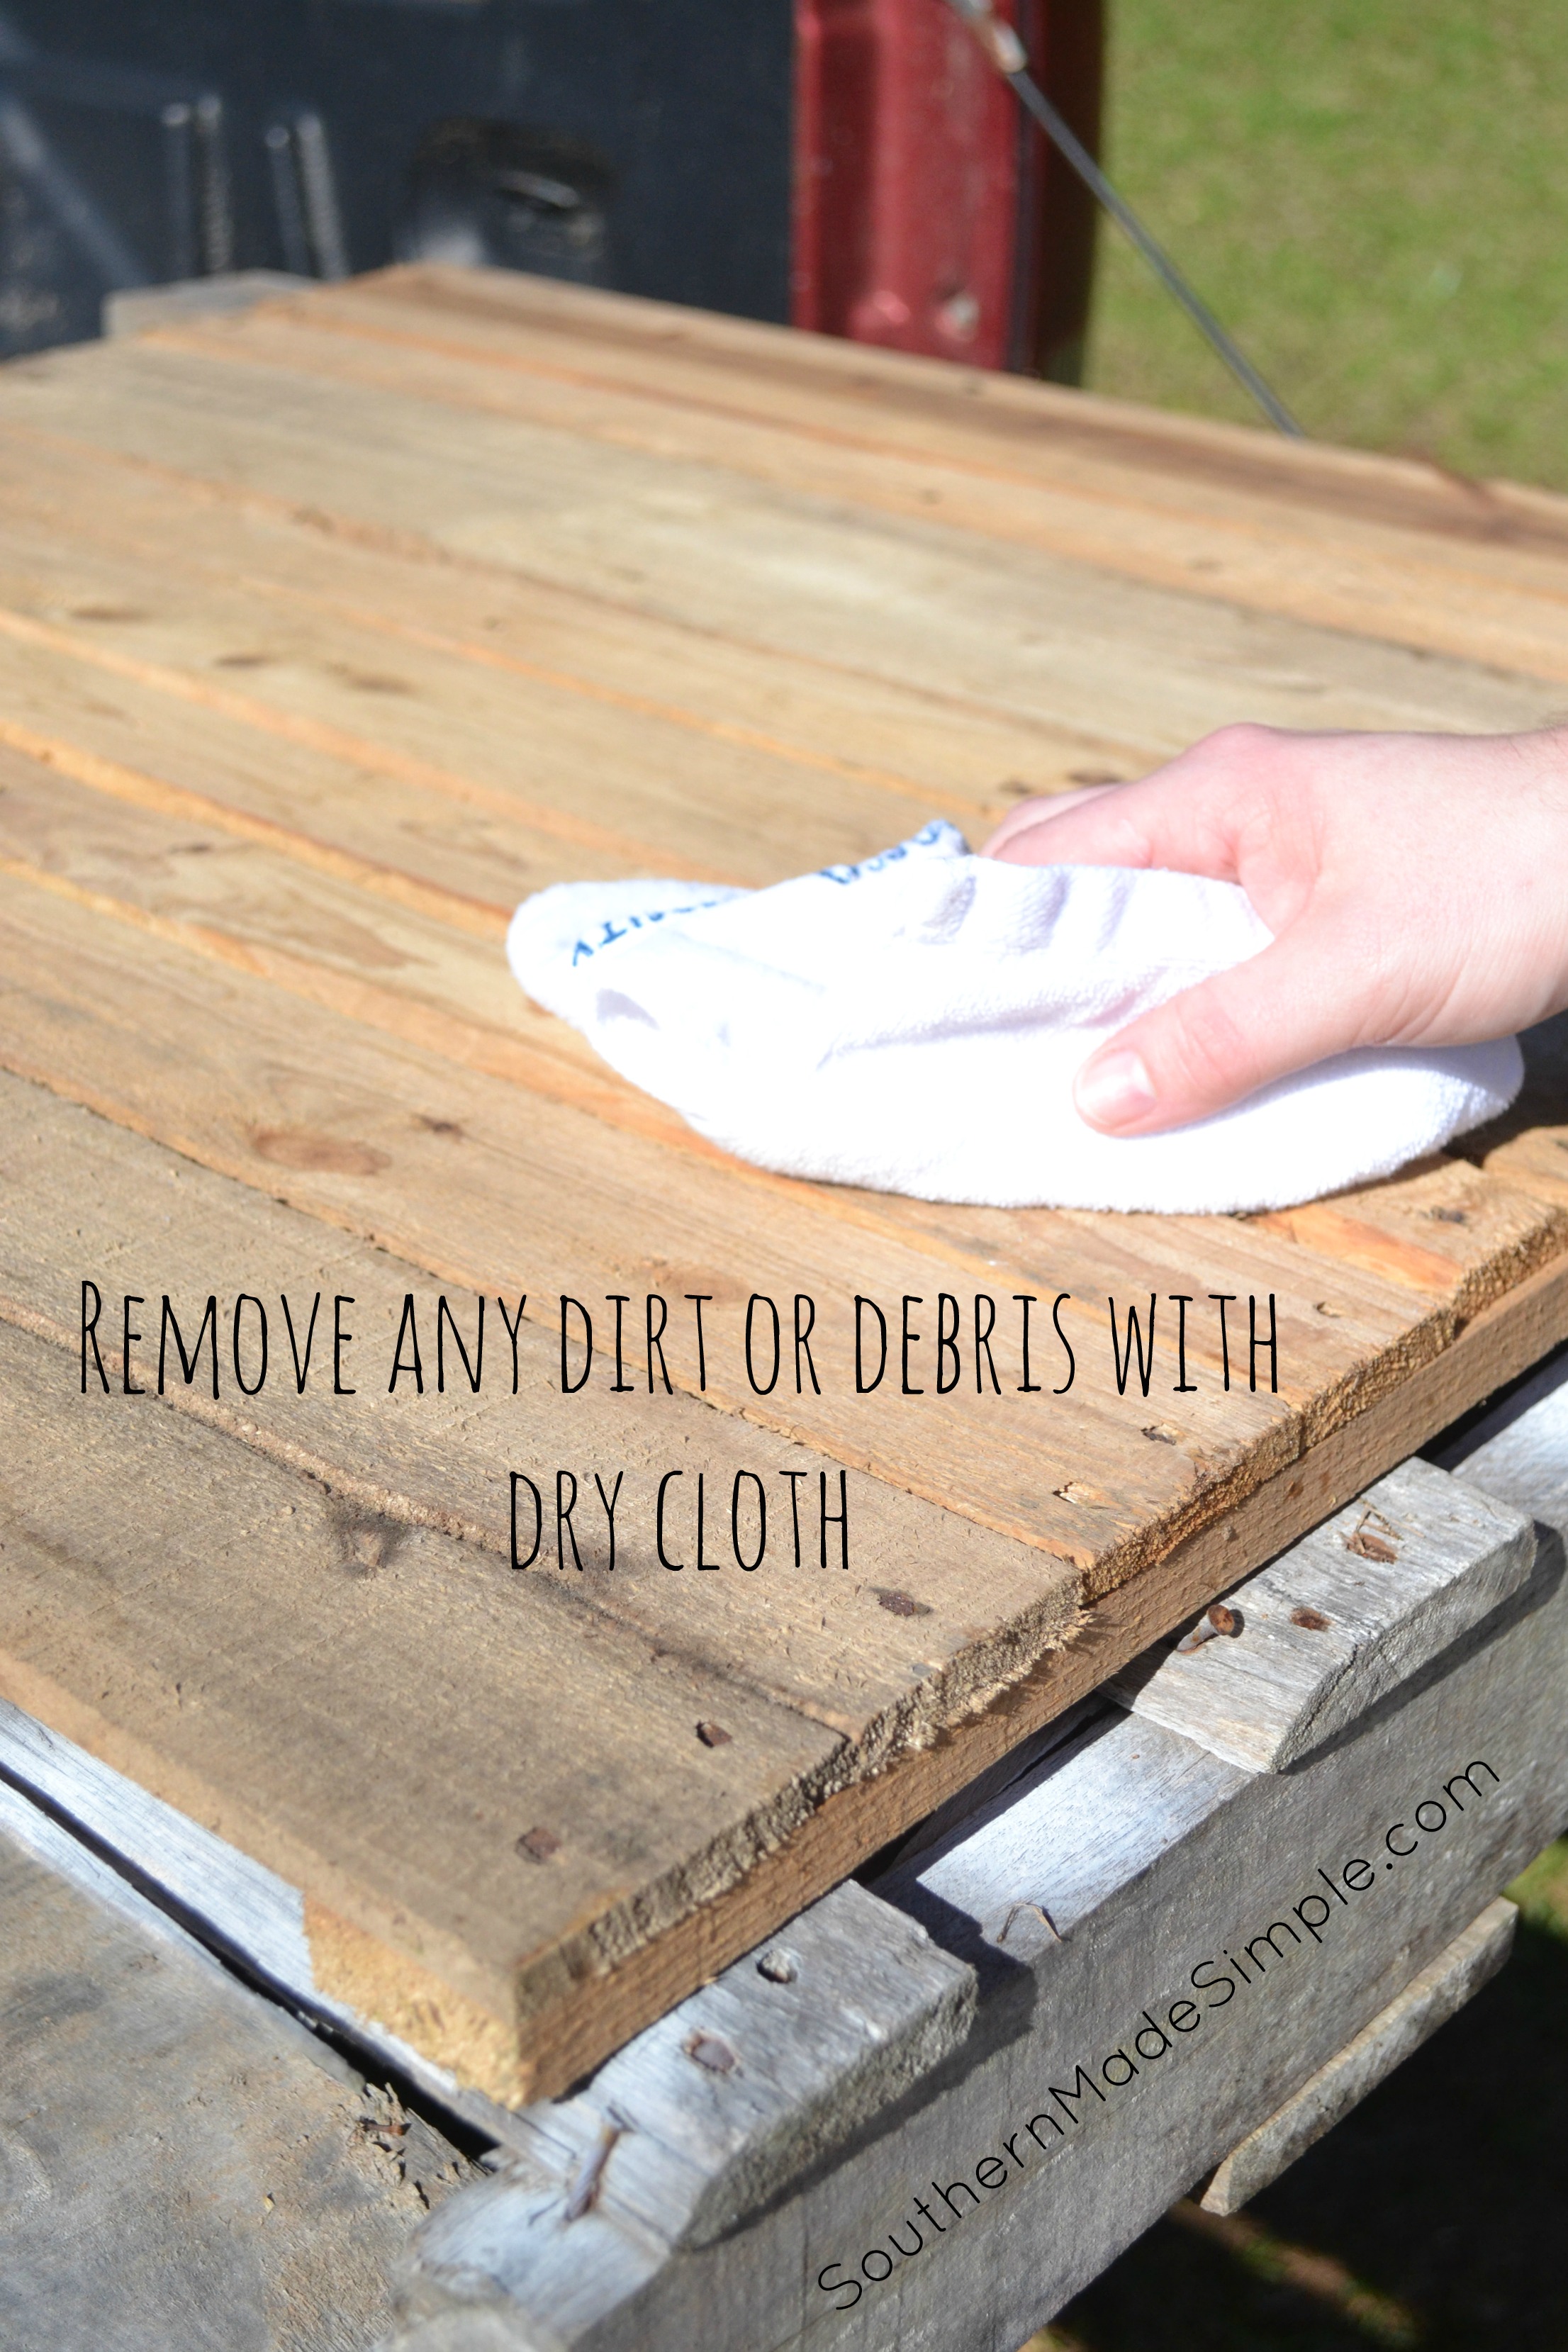
Once the wood is dusted off, go ahead and start whitewashing! You want to make sure you’re going with the grain of the wood at all times. Once you slather some paint on the wood, you’ll want to quickly take your work rag and wipe the area you just painted. This prevents the wood from soaking up all of the paint. Just as you painted with the grain, you’ll also need to wipe with the grain. That’s very important!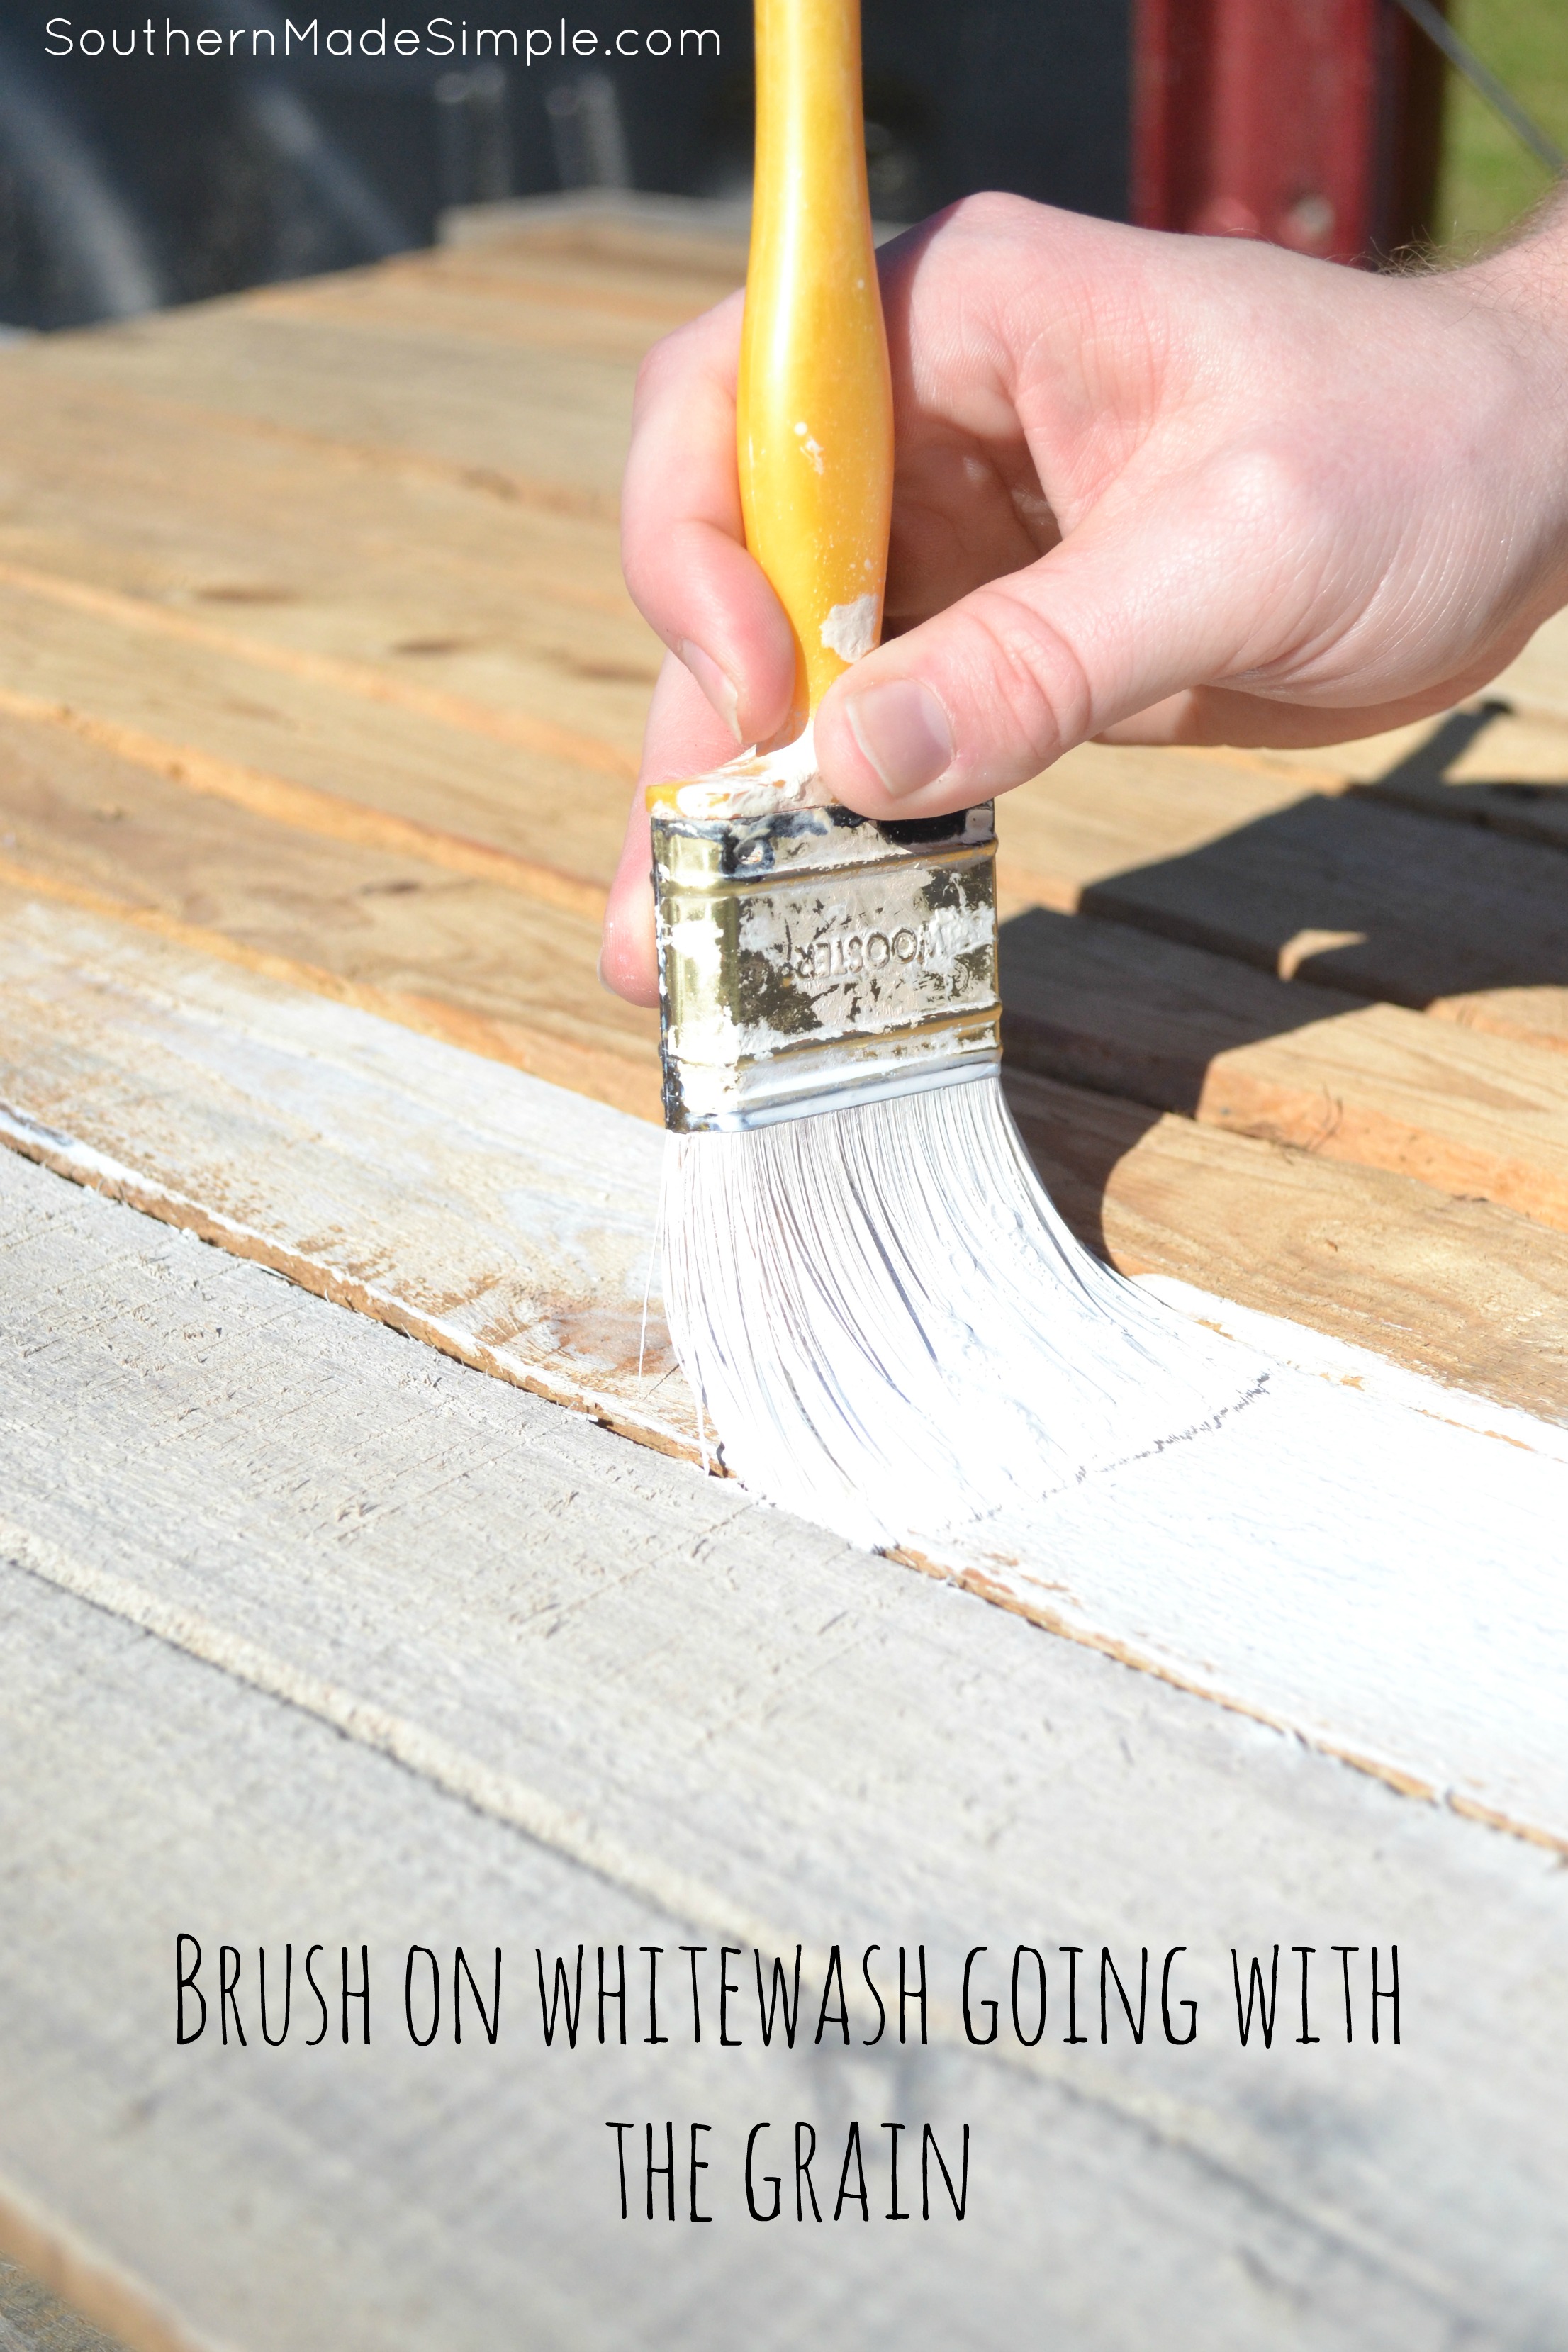
This is a side by side comparison of what one coat of white wash looks like. Every piece of wood is different. Some pieces will soak up liquid faster than others, and some won’t take in as much liquid. After your first coat of paint, you’ll have a better idea of how many coats you’ll need in order to achieve your desired look. If you feel that you get too much paint on the board at one time, take your spray bottle and spray a little water onto the board to dilute it.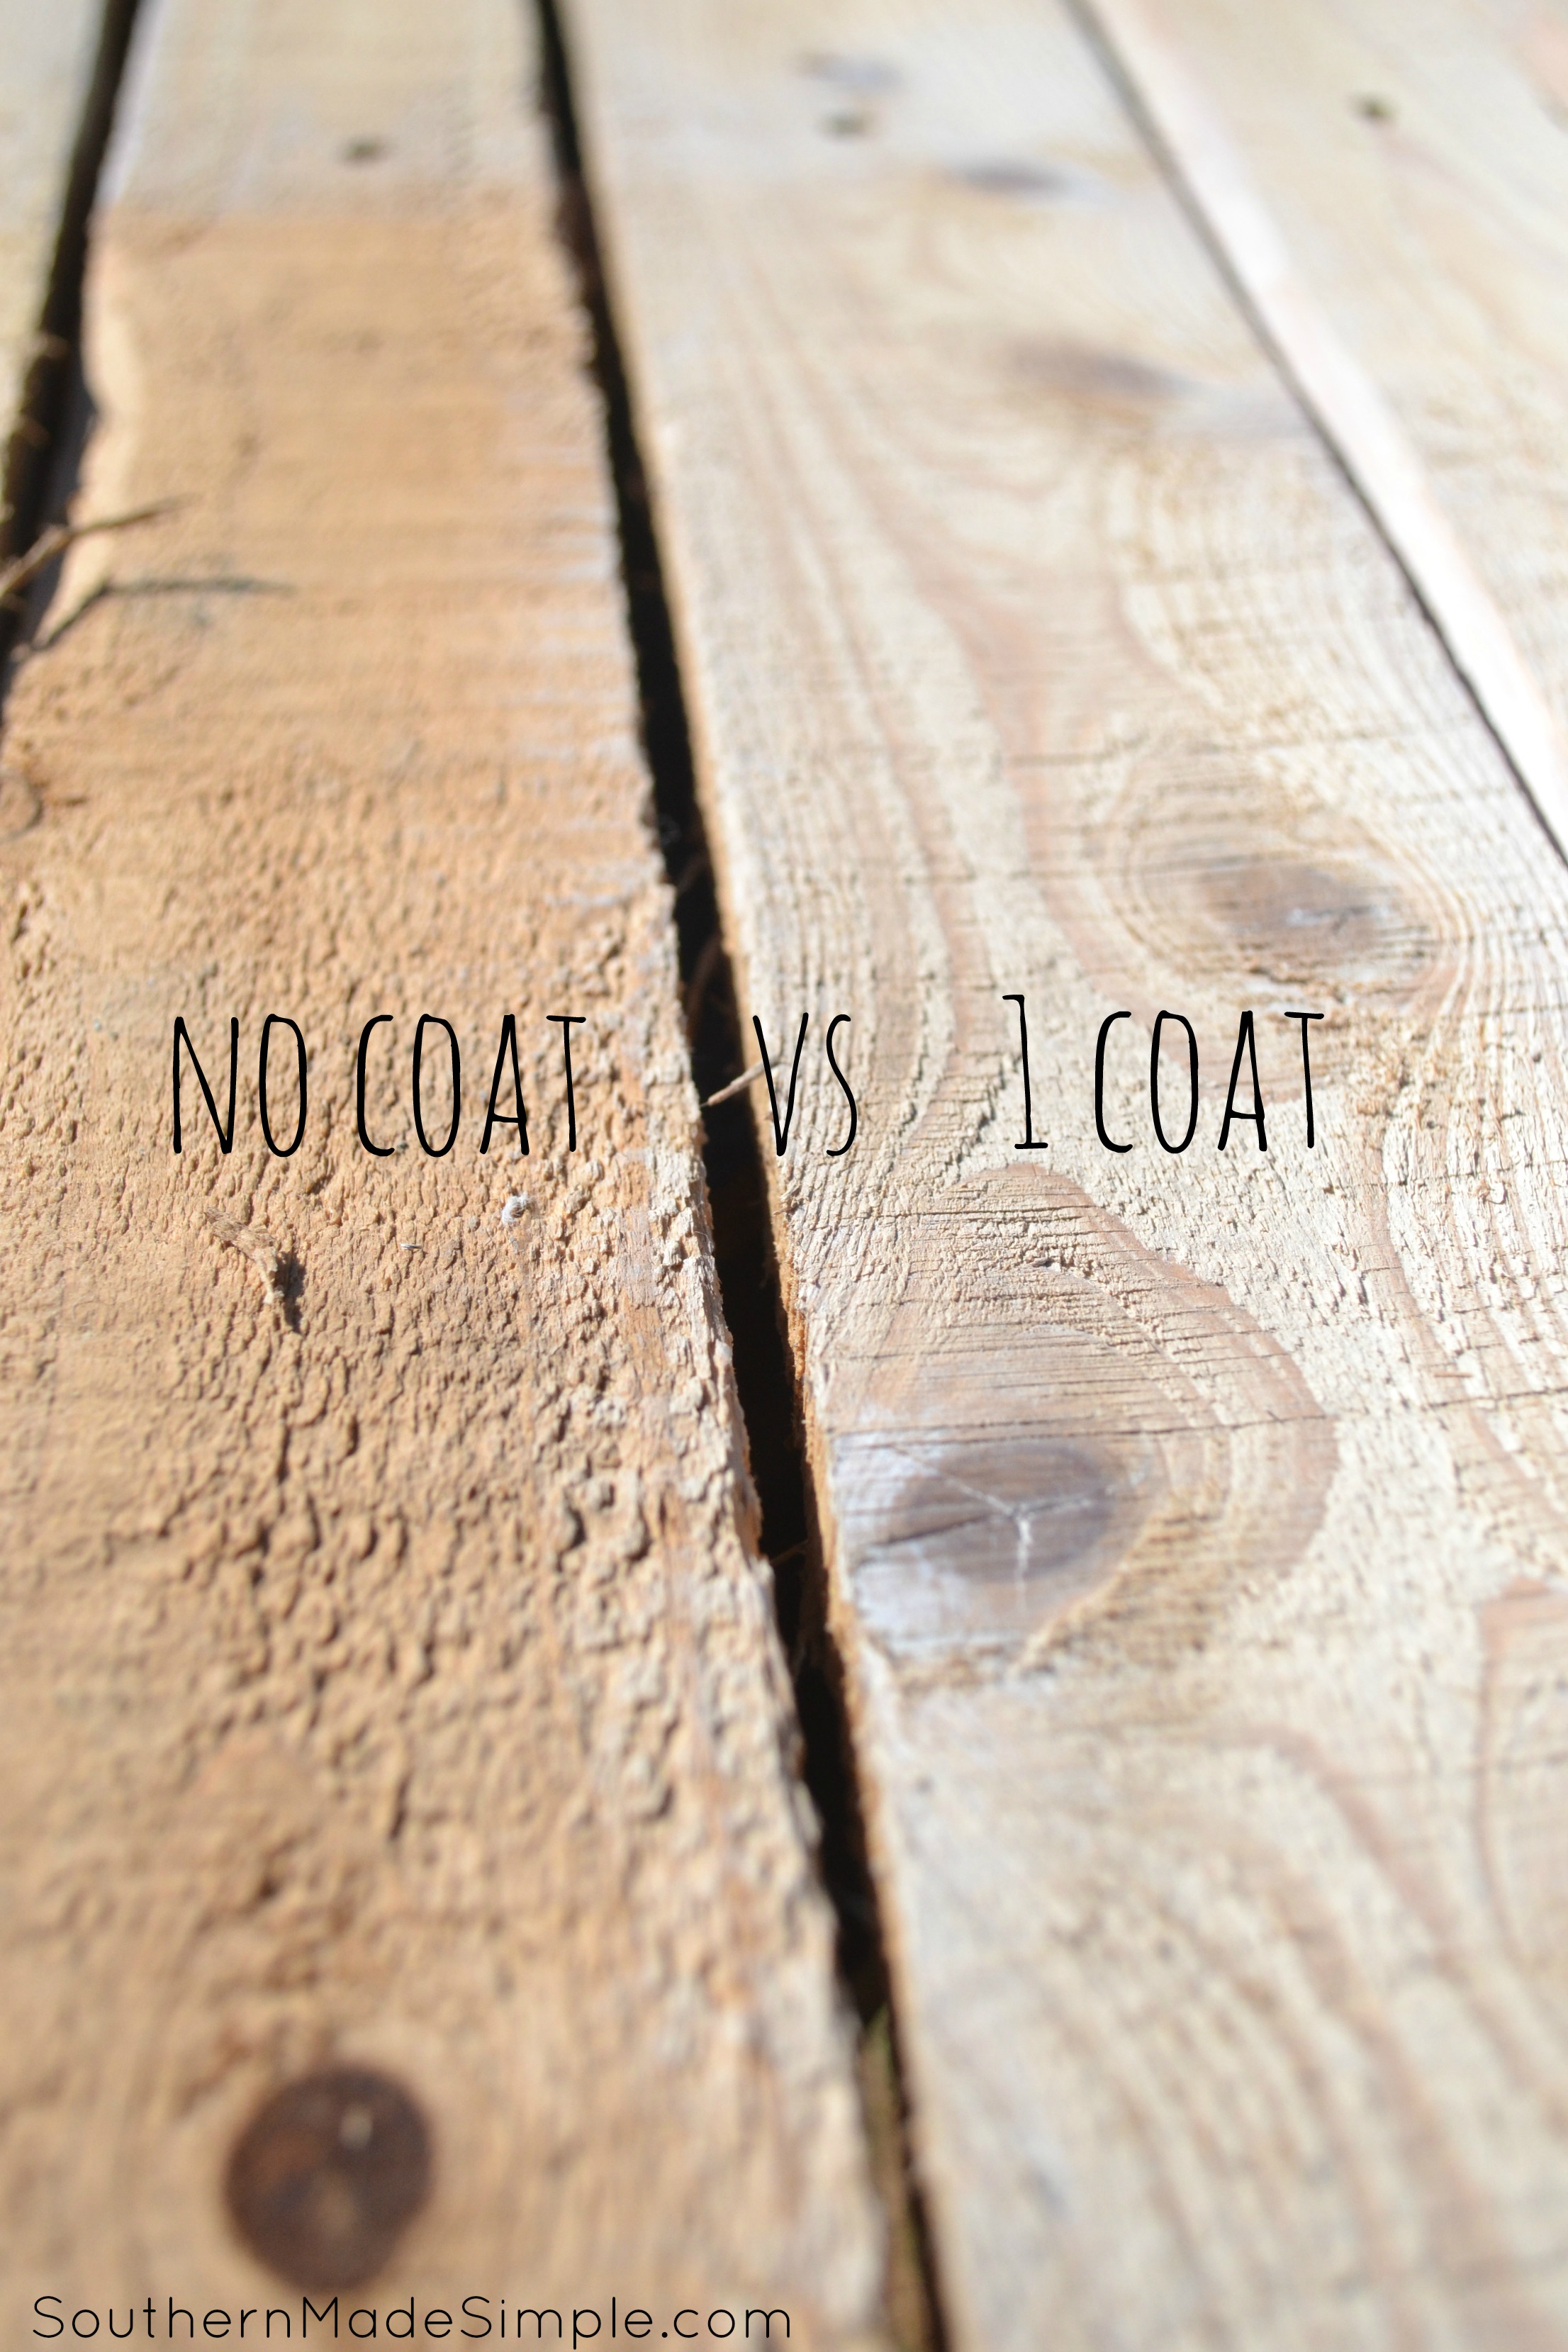
We decided to paint our pallet with 3 coats of whitewash. The board dried very quickly, but I would recommend letting it sit for a few hours before doing anything else to it. Once the board is completely dried, take a piece of sand paper to it around the edges to give it a shabby chic look! I haven’t done that to this board yet, but it’s on my to-do list! 😉
I’ll be sure to show a follow-up picture later this week sharing the final project with you. I know it’s going to turn out beautiful! I’m so glad that I decided to whitewash this pallet, and I was so surprised with how simple and cheap it was! Now I’m going to be fighting the urge to whitewash everything!
I’m going to be slowly moving through the pile of wooden treasures at Grandaddy’s shed and turning them into something fun and new, so be sure to stay tuned to see more!
Looks good!