Although I tend to shop at bigger grocery store chains like Publix and Walmart, I love to visit mom and pop grocery stores in my area from time to time. Shopping local is important for the economy, and you’ll often find sales and deals that you wouldn’t ever find in a bigger chain store! A few weeks ago I walked into a local grocery store and my mind was blown by some of the crazy markdowns they had!
Seriously, this grocery store is like a precious gem that I am forever treasuring. It’s such a rare occurrence to get a deal on fresh produce, and this particular market very heavily reduces produce that is closely approaching it’s expiration date. (You don’t see that at Walmart, y’all!)
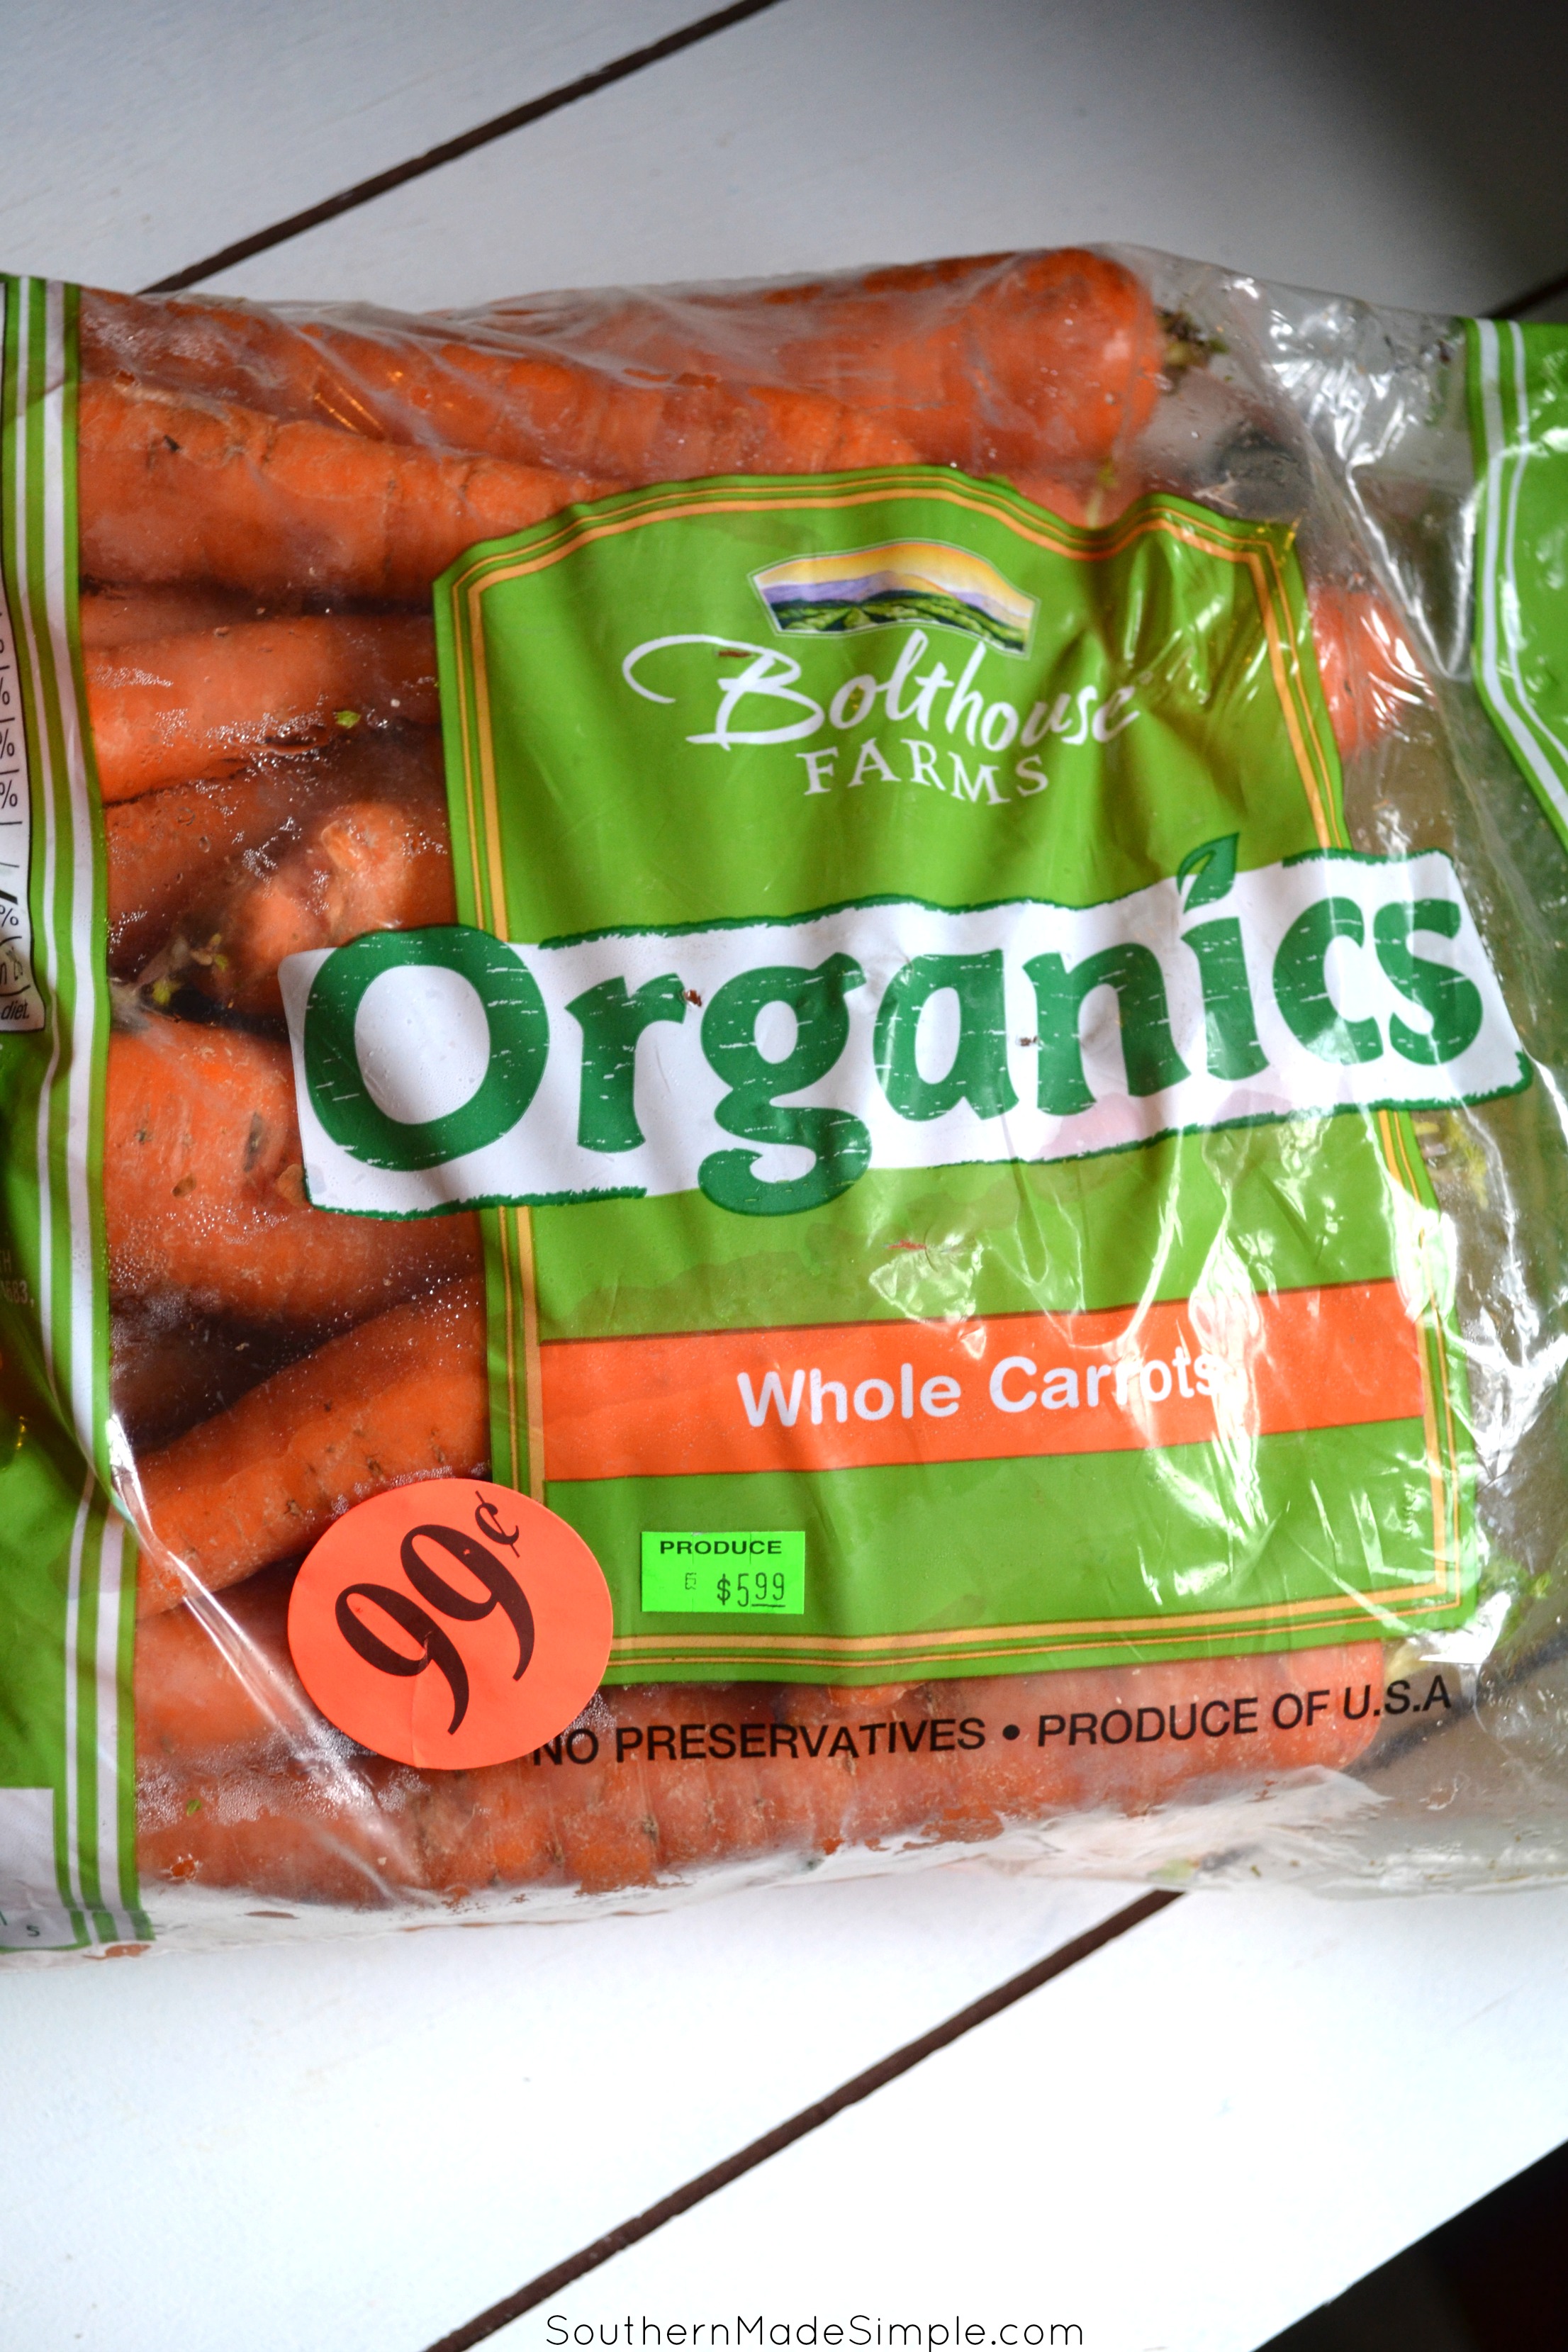
So I stumbled across this HUGE bag of organic carrots that had a few days of life left. It was previously priced at $5.99 marked down to just 99 cents. That bag of carrots flew into my cart faster than a speeding bullet, y’all! 😉
I knew I’d need to do something with them pretty soon, so I decided to go ahead and freeze them so I could just pull them out and use them whenever I wanted to. The process of properly freezing carrots is super easy and doesn’t take long at all.
Step 1: Wash carrots thoroughly.
You want to make sure there’s no dirt left on the carrots. You can lightly scrub them with a brush if you want to really make sure you’re getting the dirt off. I prefer to peel my carrots with a peeler, but you can skip this step if you prefer. It does not effect the freezing process.
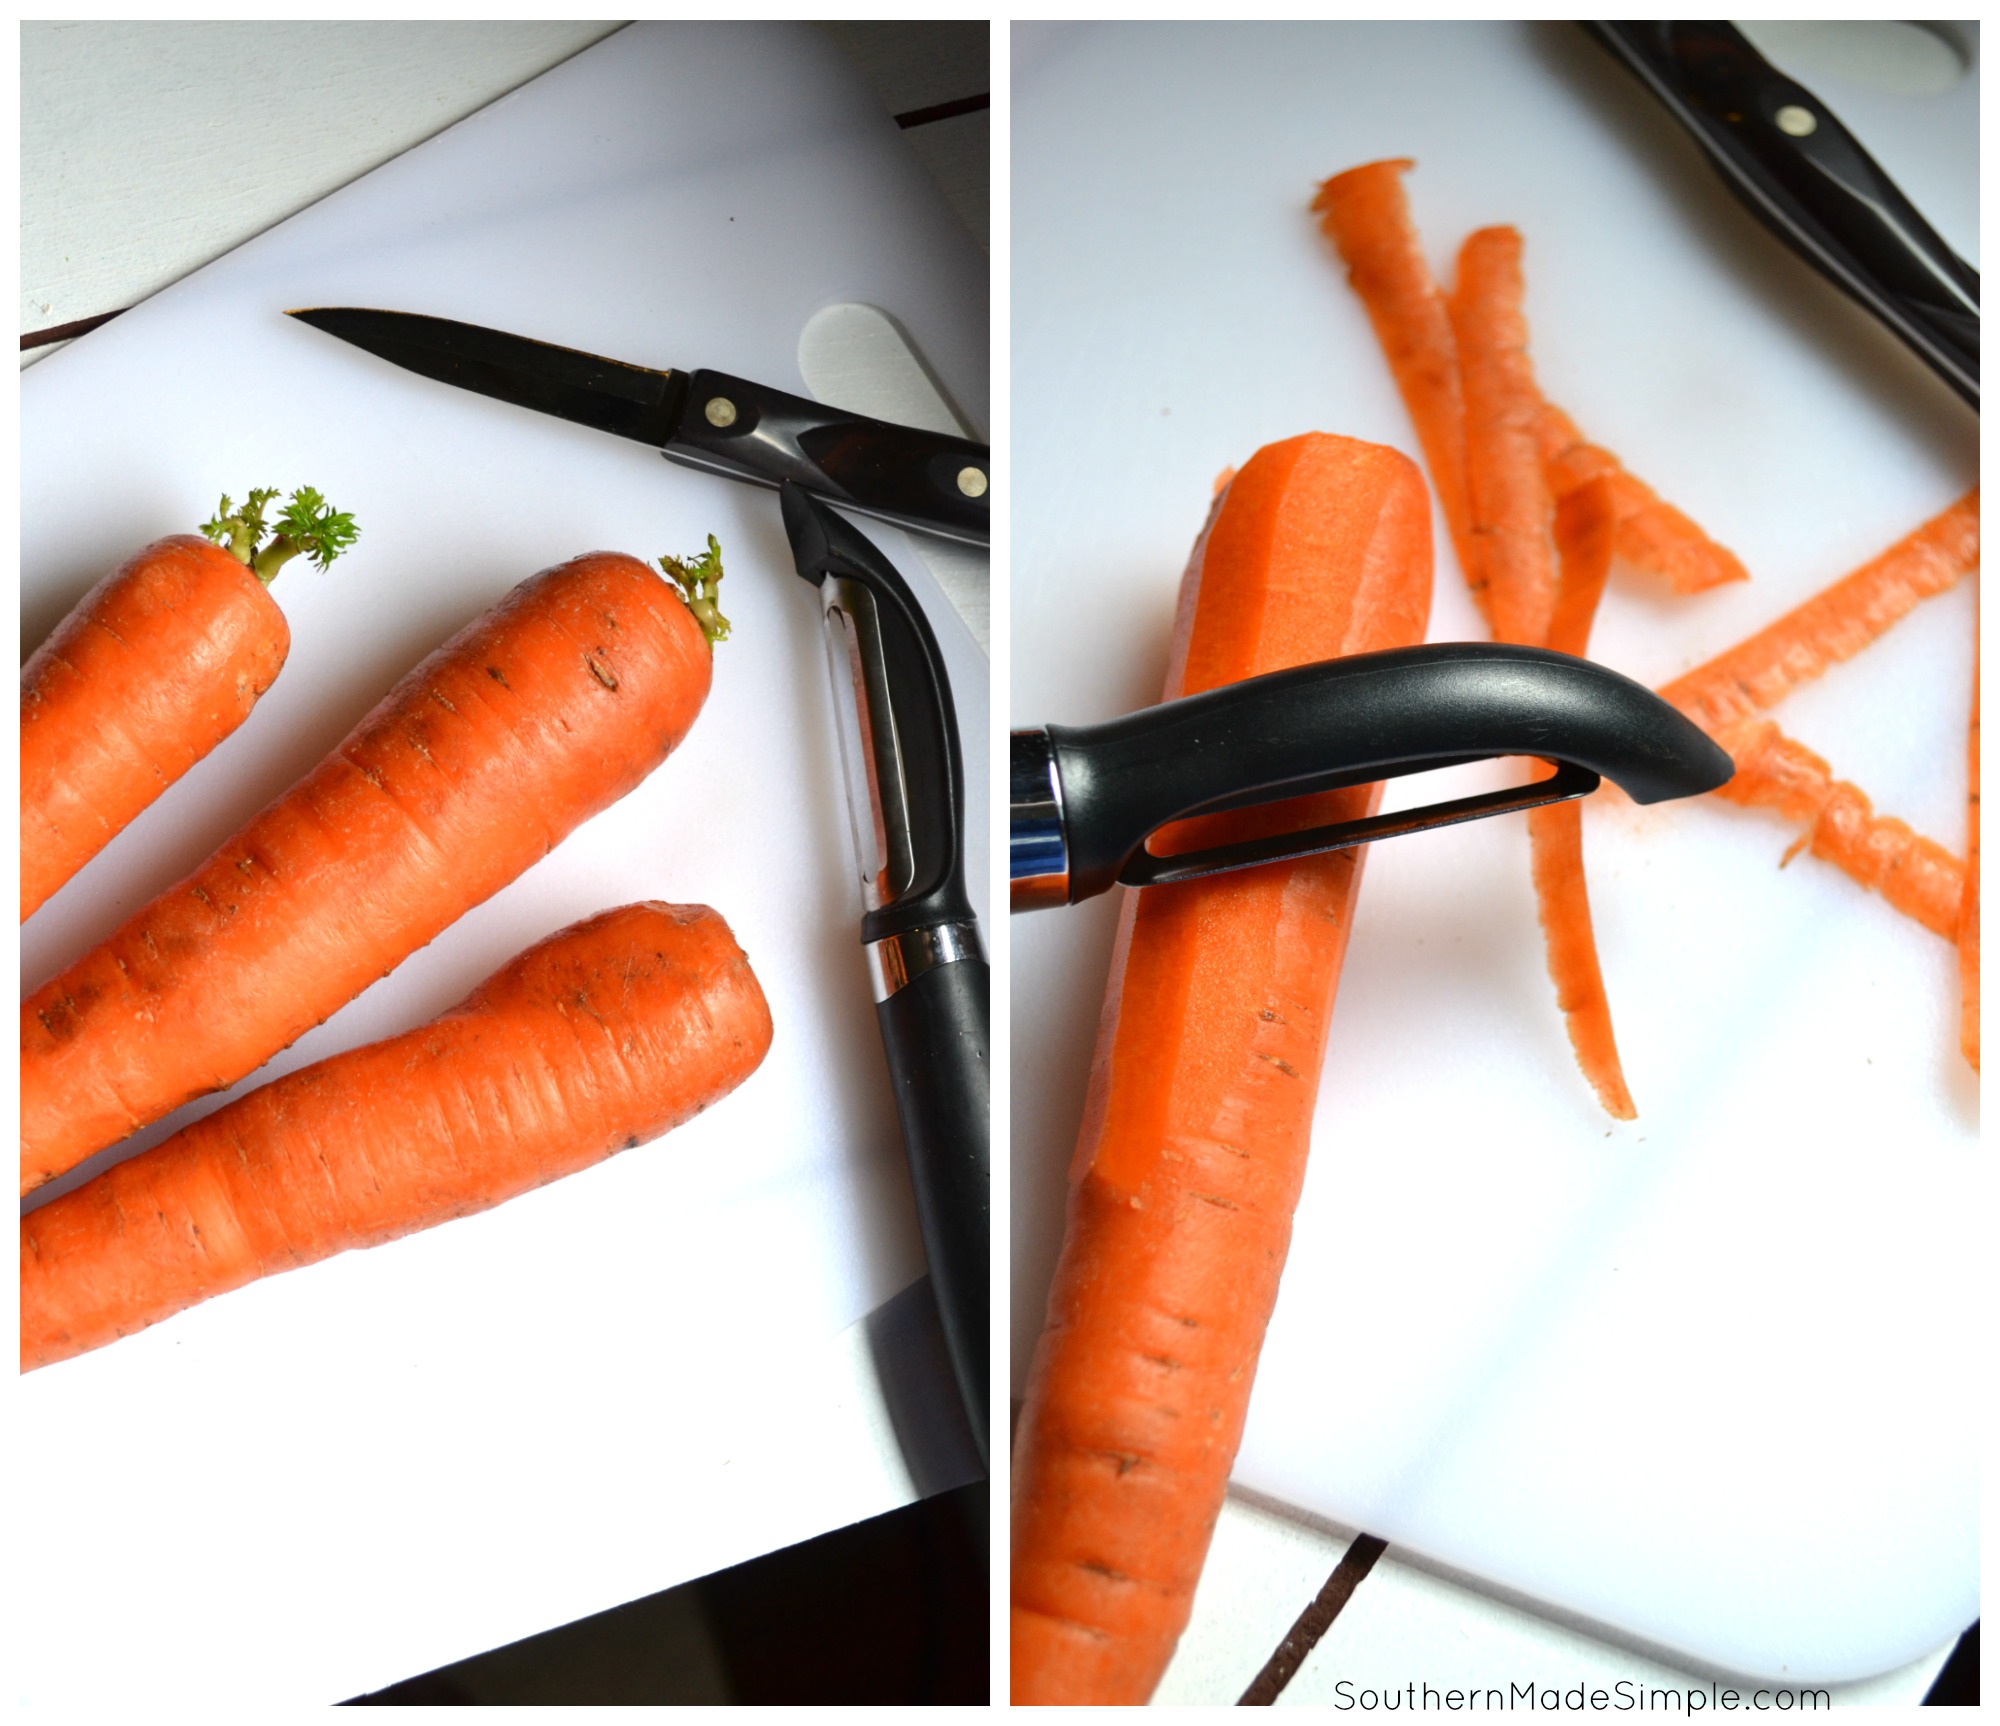
Step 2: Remove tops and slice or shred
Using a knife, remove the tops of the carrots (I like to cut a little off the other end, too) and slice into rounds. You can also shred some if you’ll be making a carrot cake in the future like I plan to do!
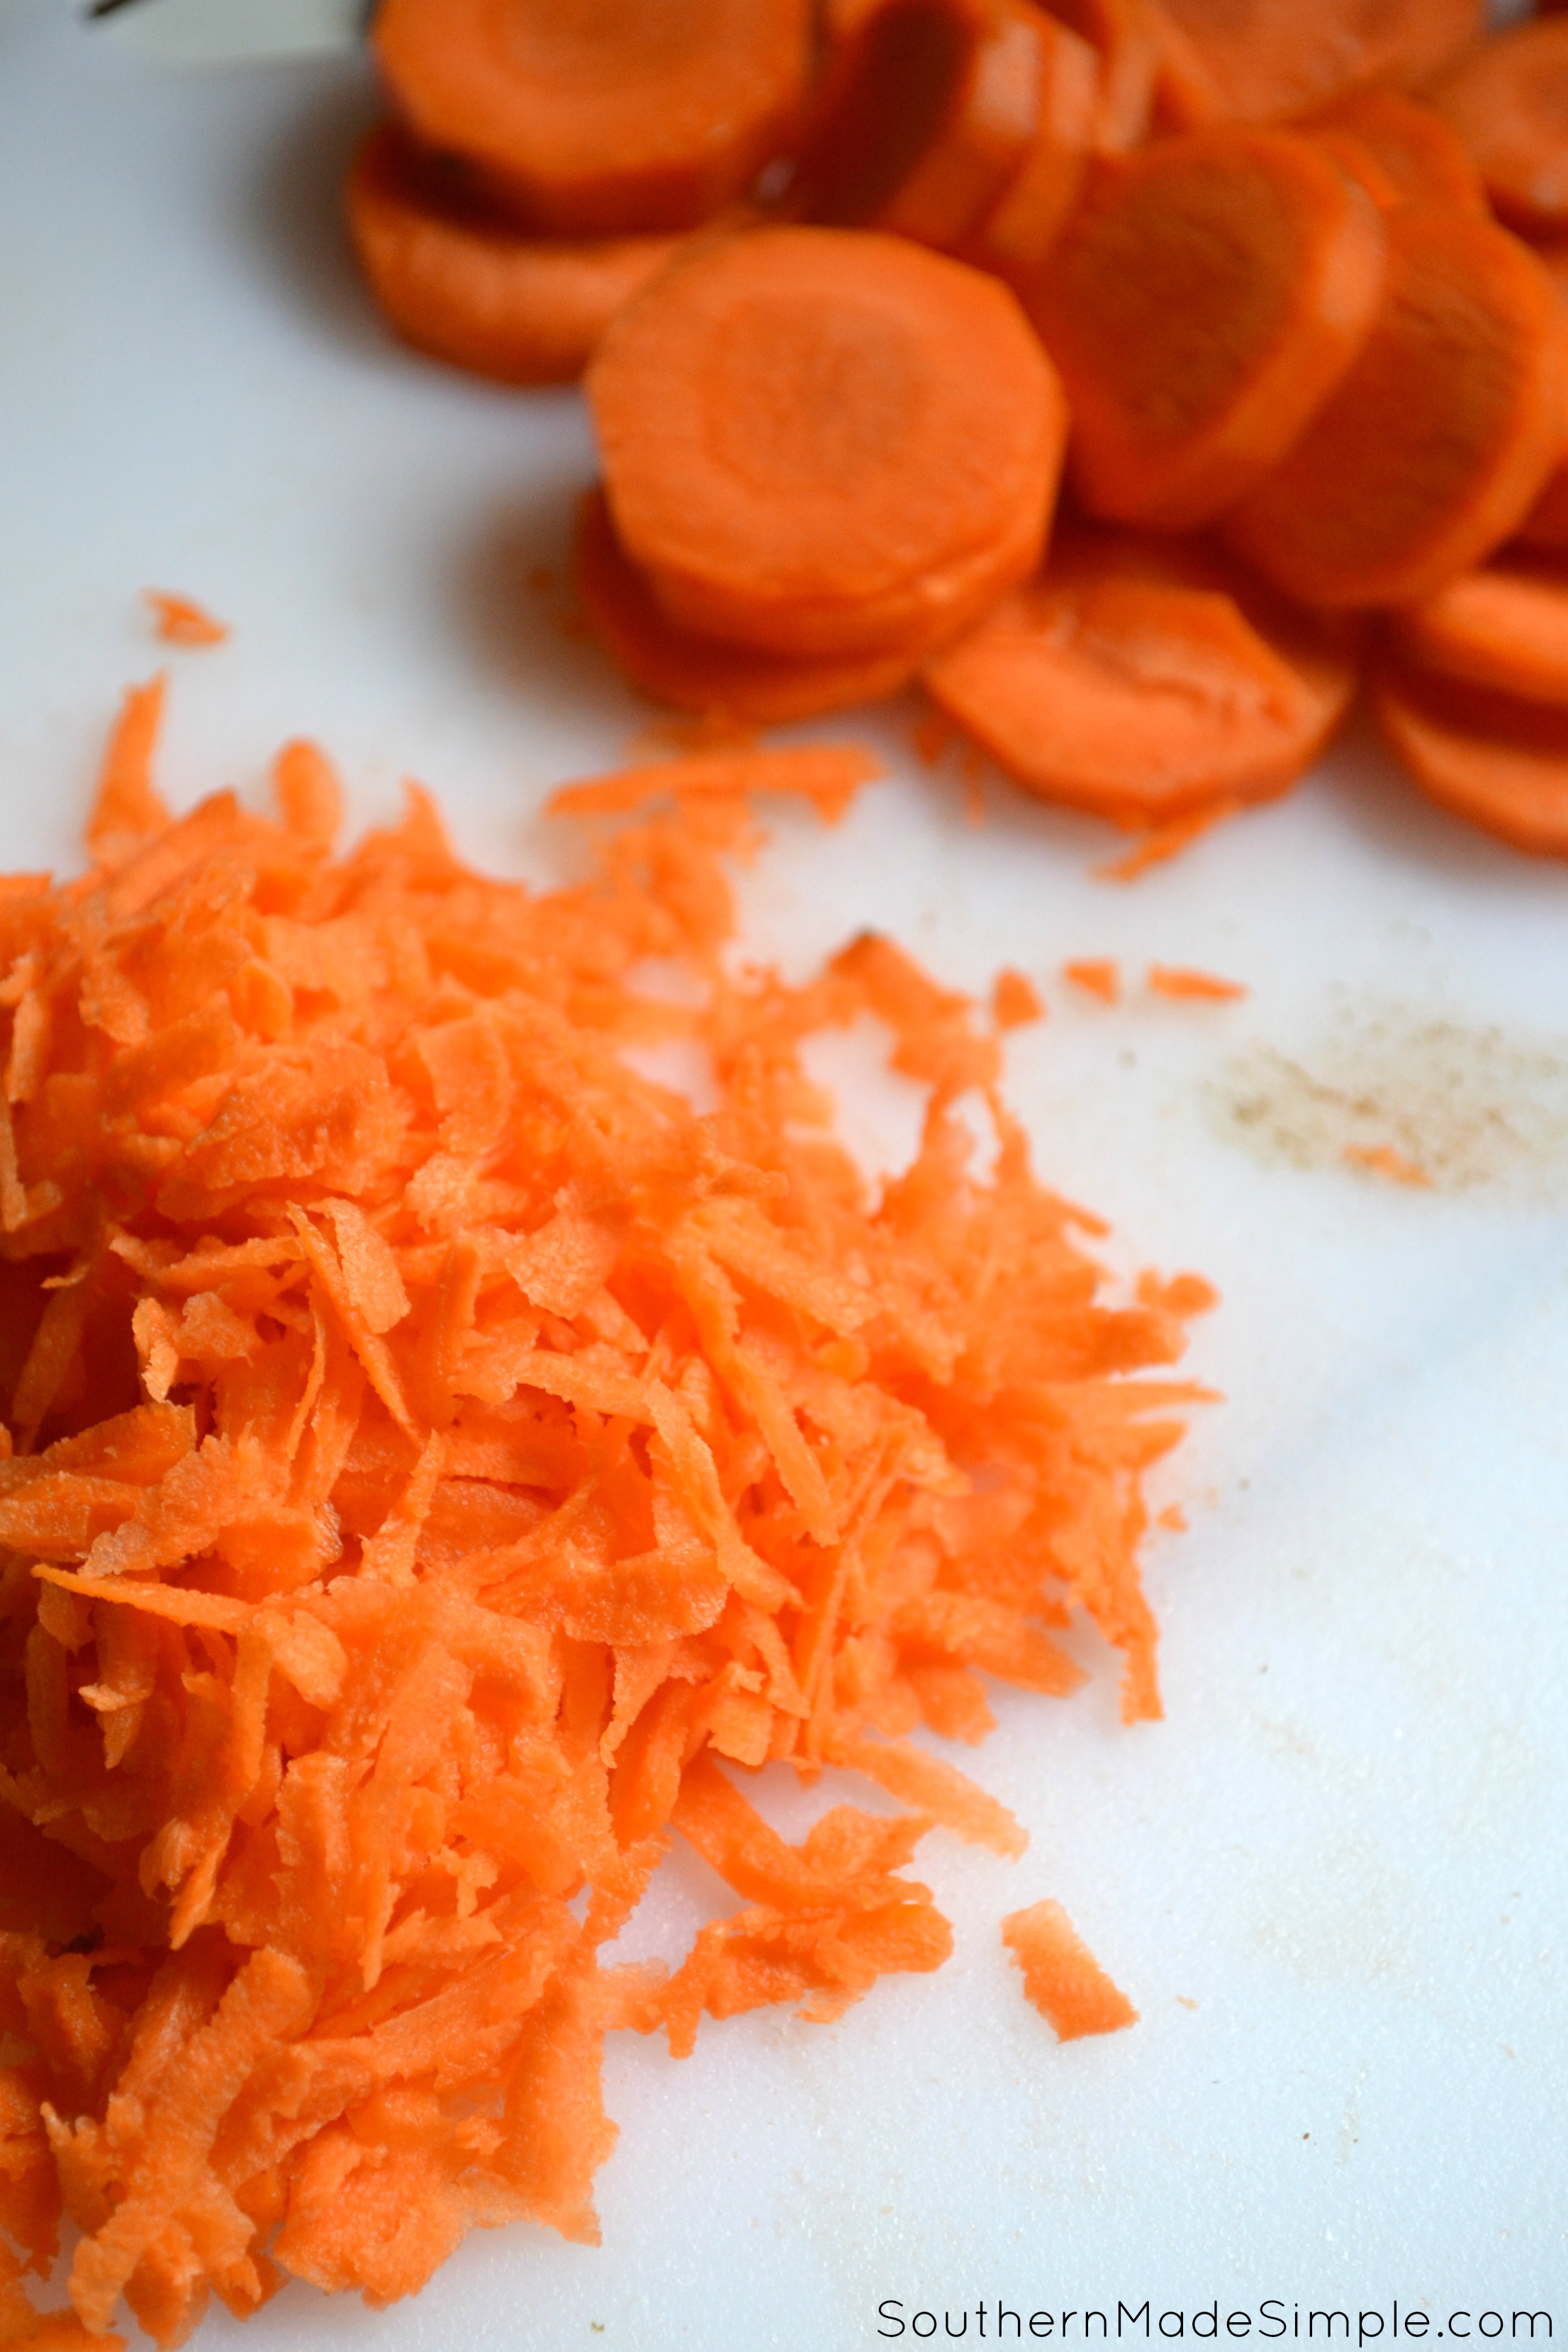
Step 3: Blanch and Ice Bath
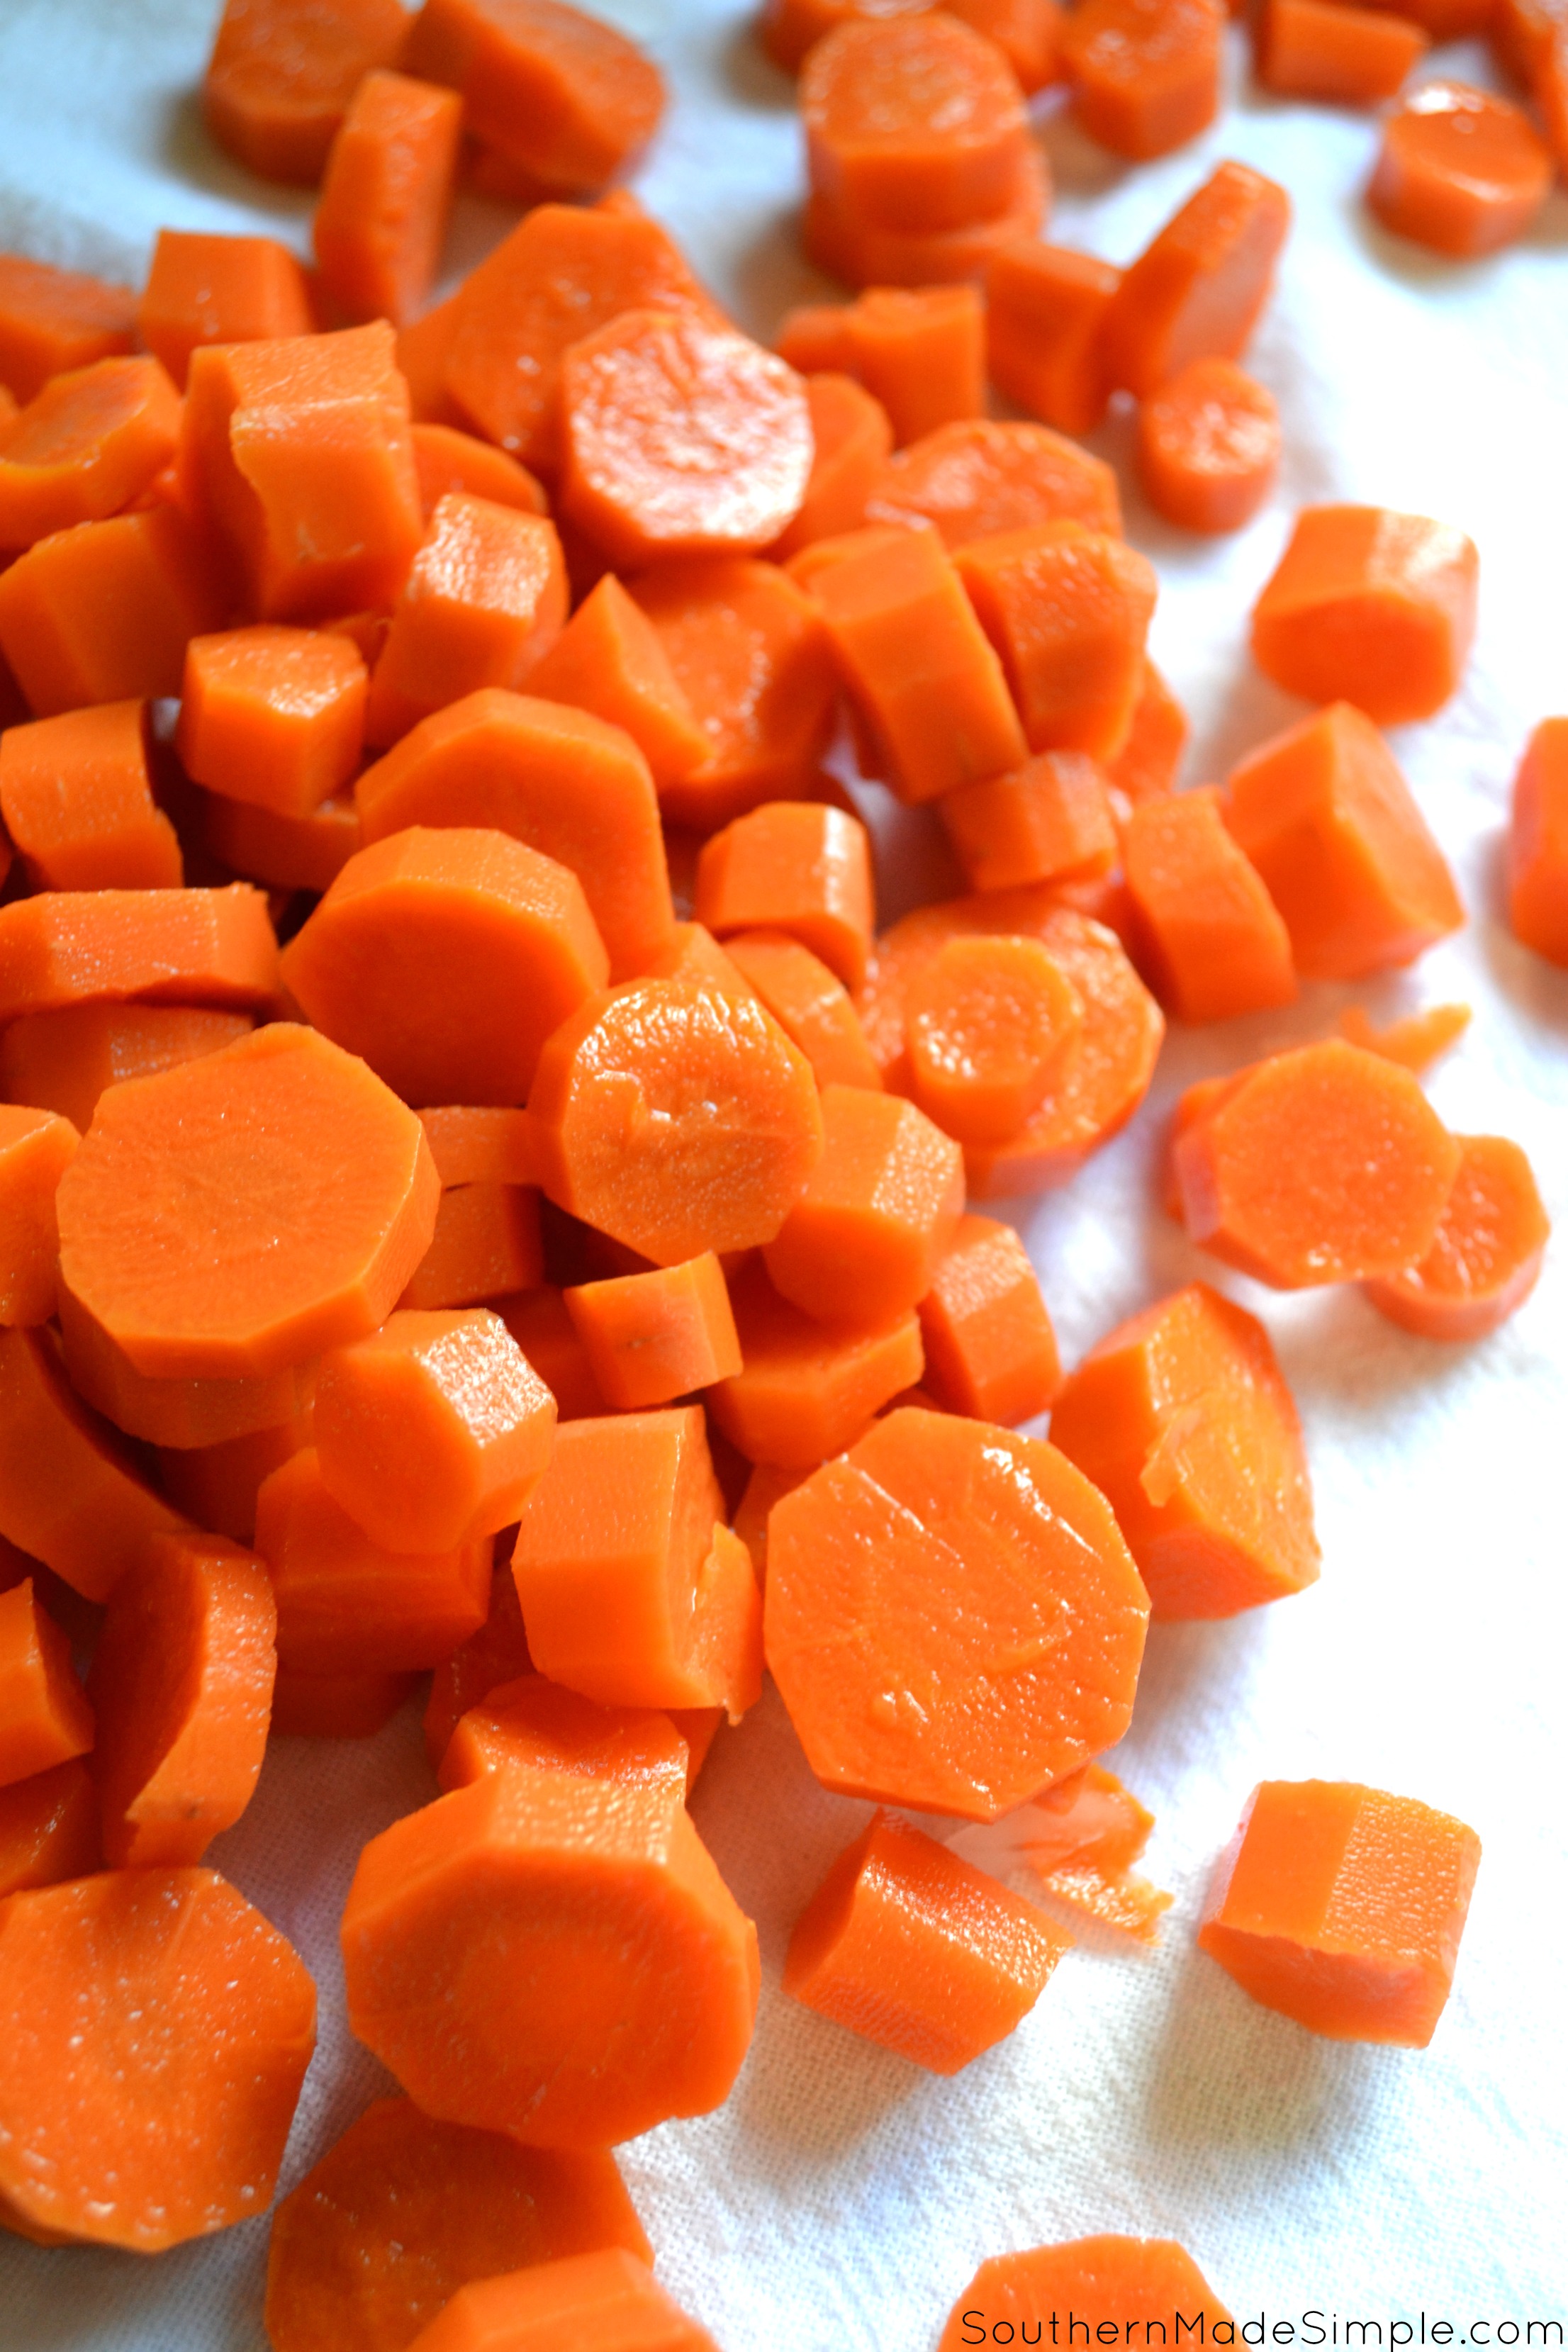
Get a pot of water boiling and toss your sliced carrots in to boil. You’ll want them to boil for about 3 minutes. While they’re boiling, fill a large bowl with ice water. Immediately pour the carrots into a strainer and then transfer directly into the ice bath. Let them sit in the ice bath until all ice cube have melted. If you’re putting up shredded carrots, you can use this blanching process, but I’ve found it to be extremely messy and a little tedious. Blanching shredded carrots isn’t completely necessary. If you put them up without blanching, just make a note to make sure you use them up within 6 months or so.
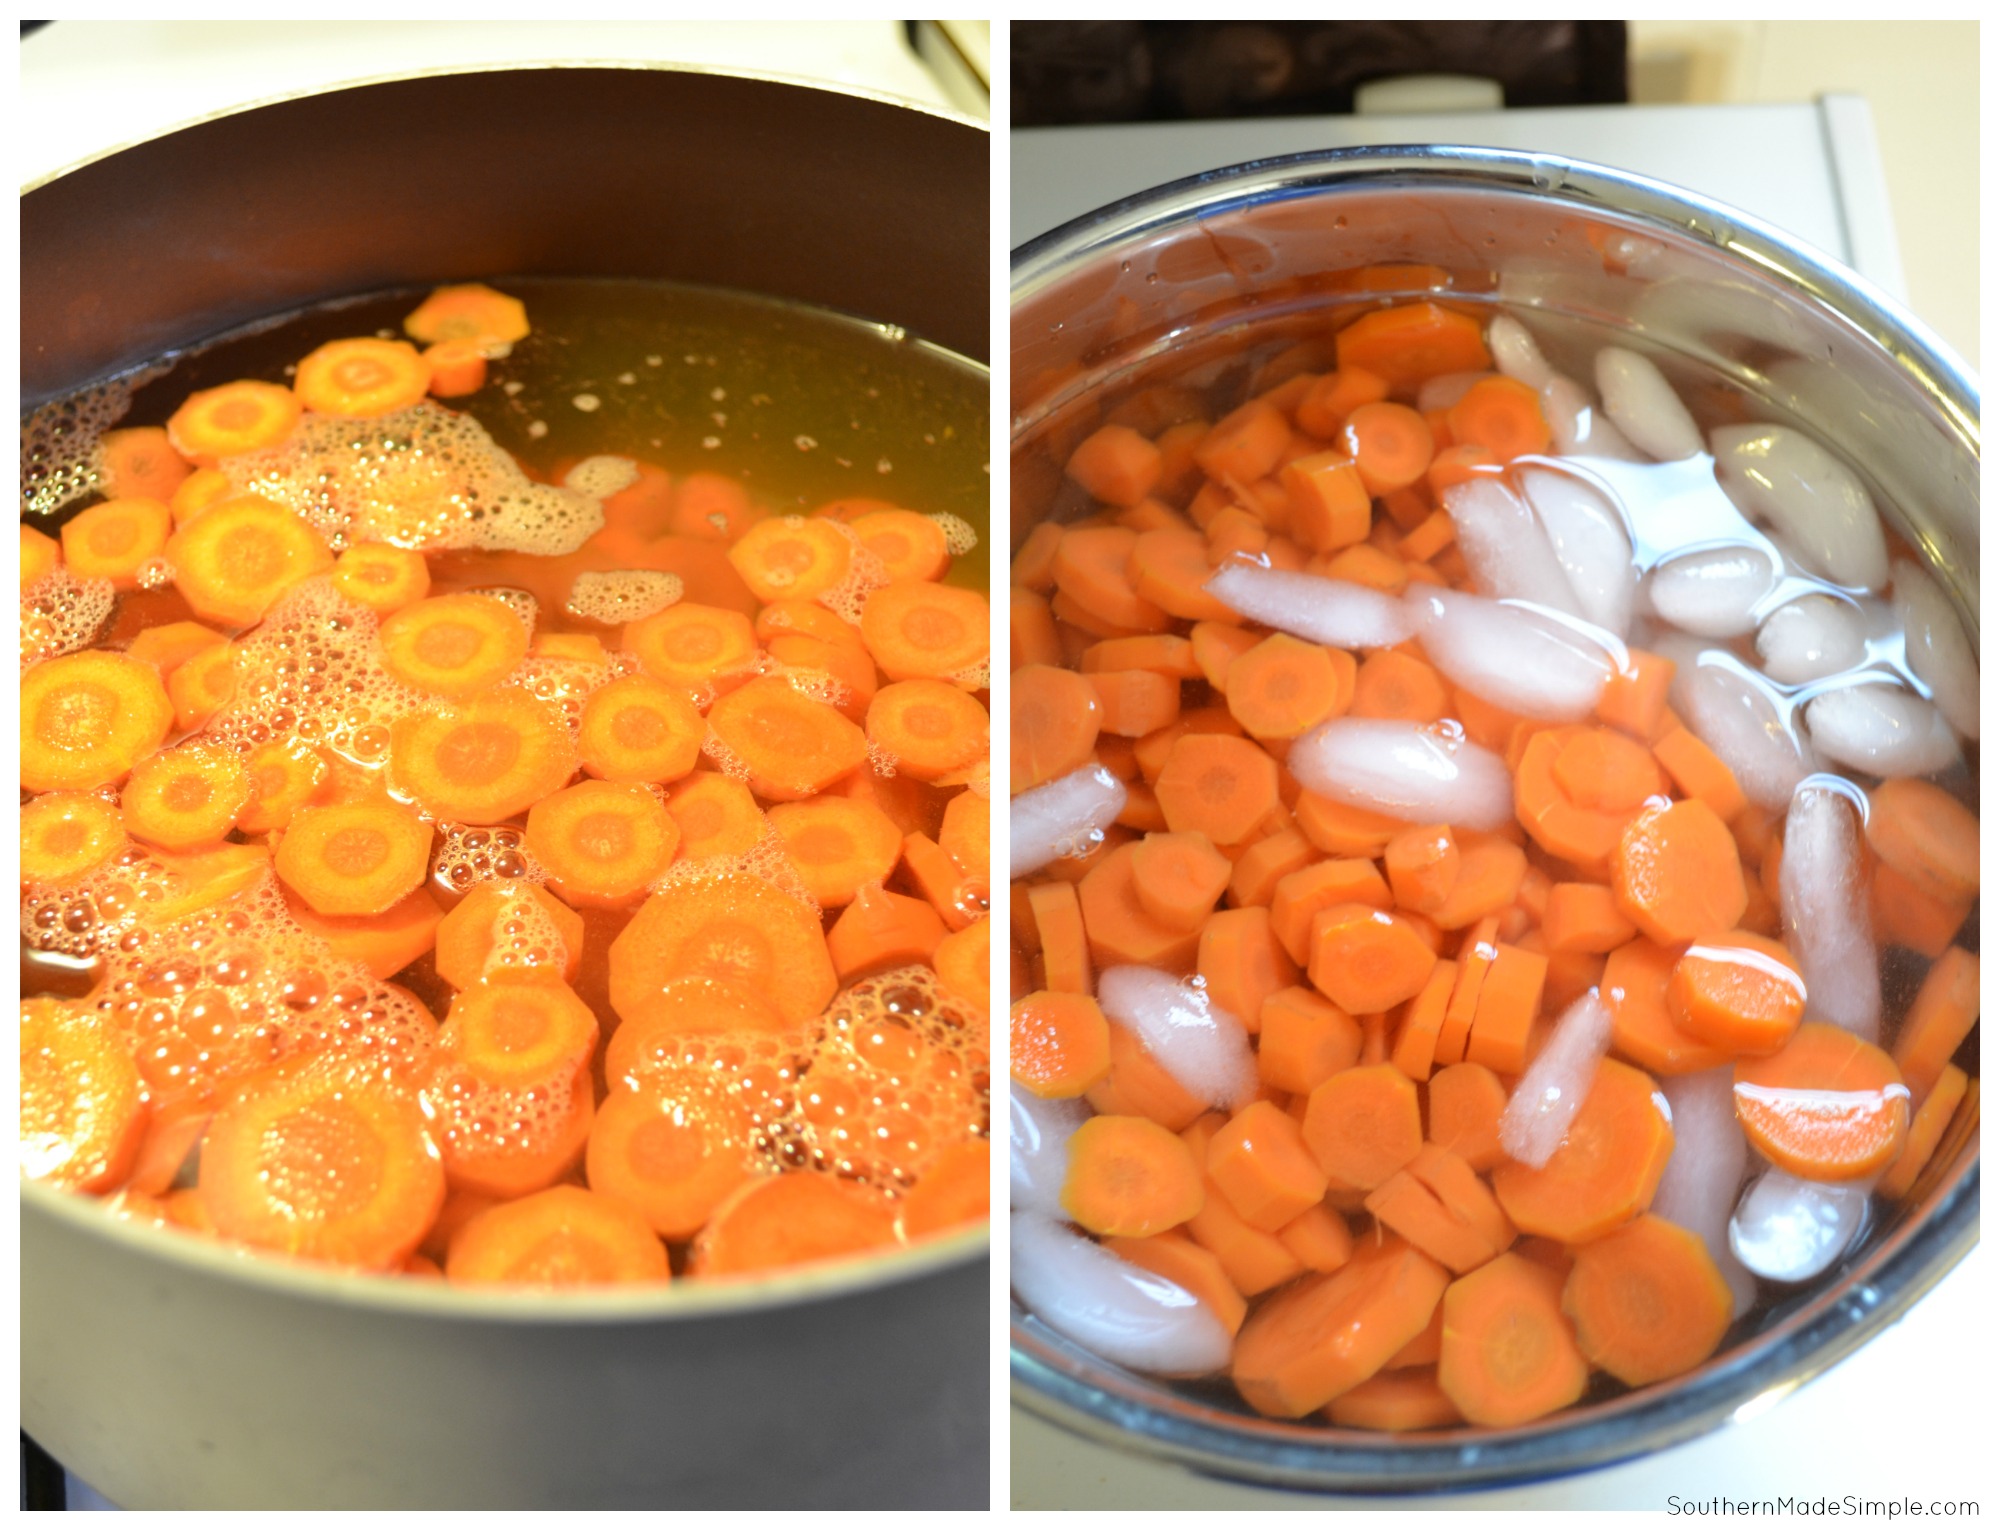
Step 4: Remove excess water and seal in freezer bags
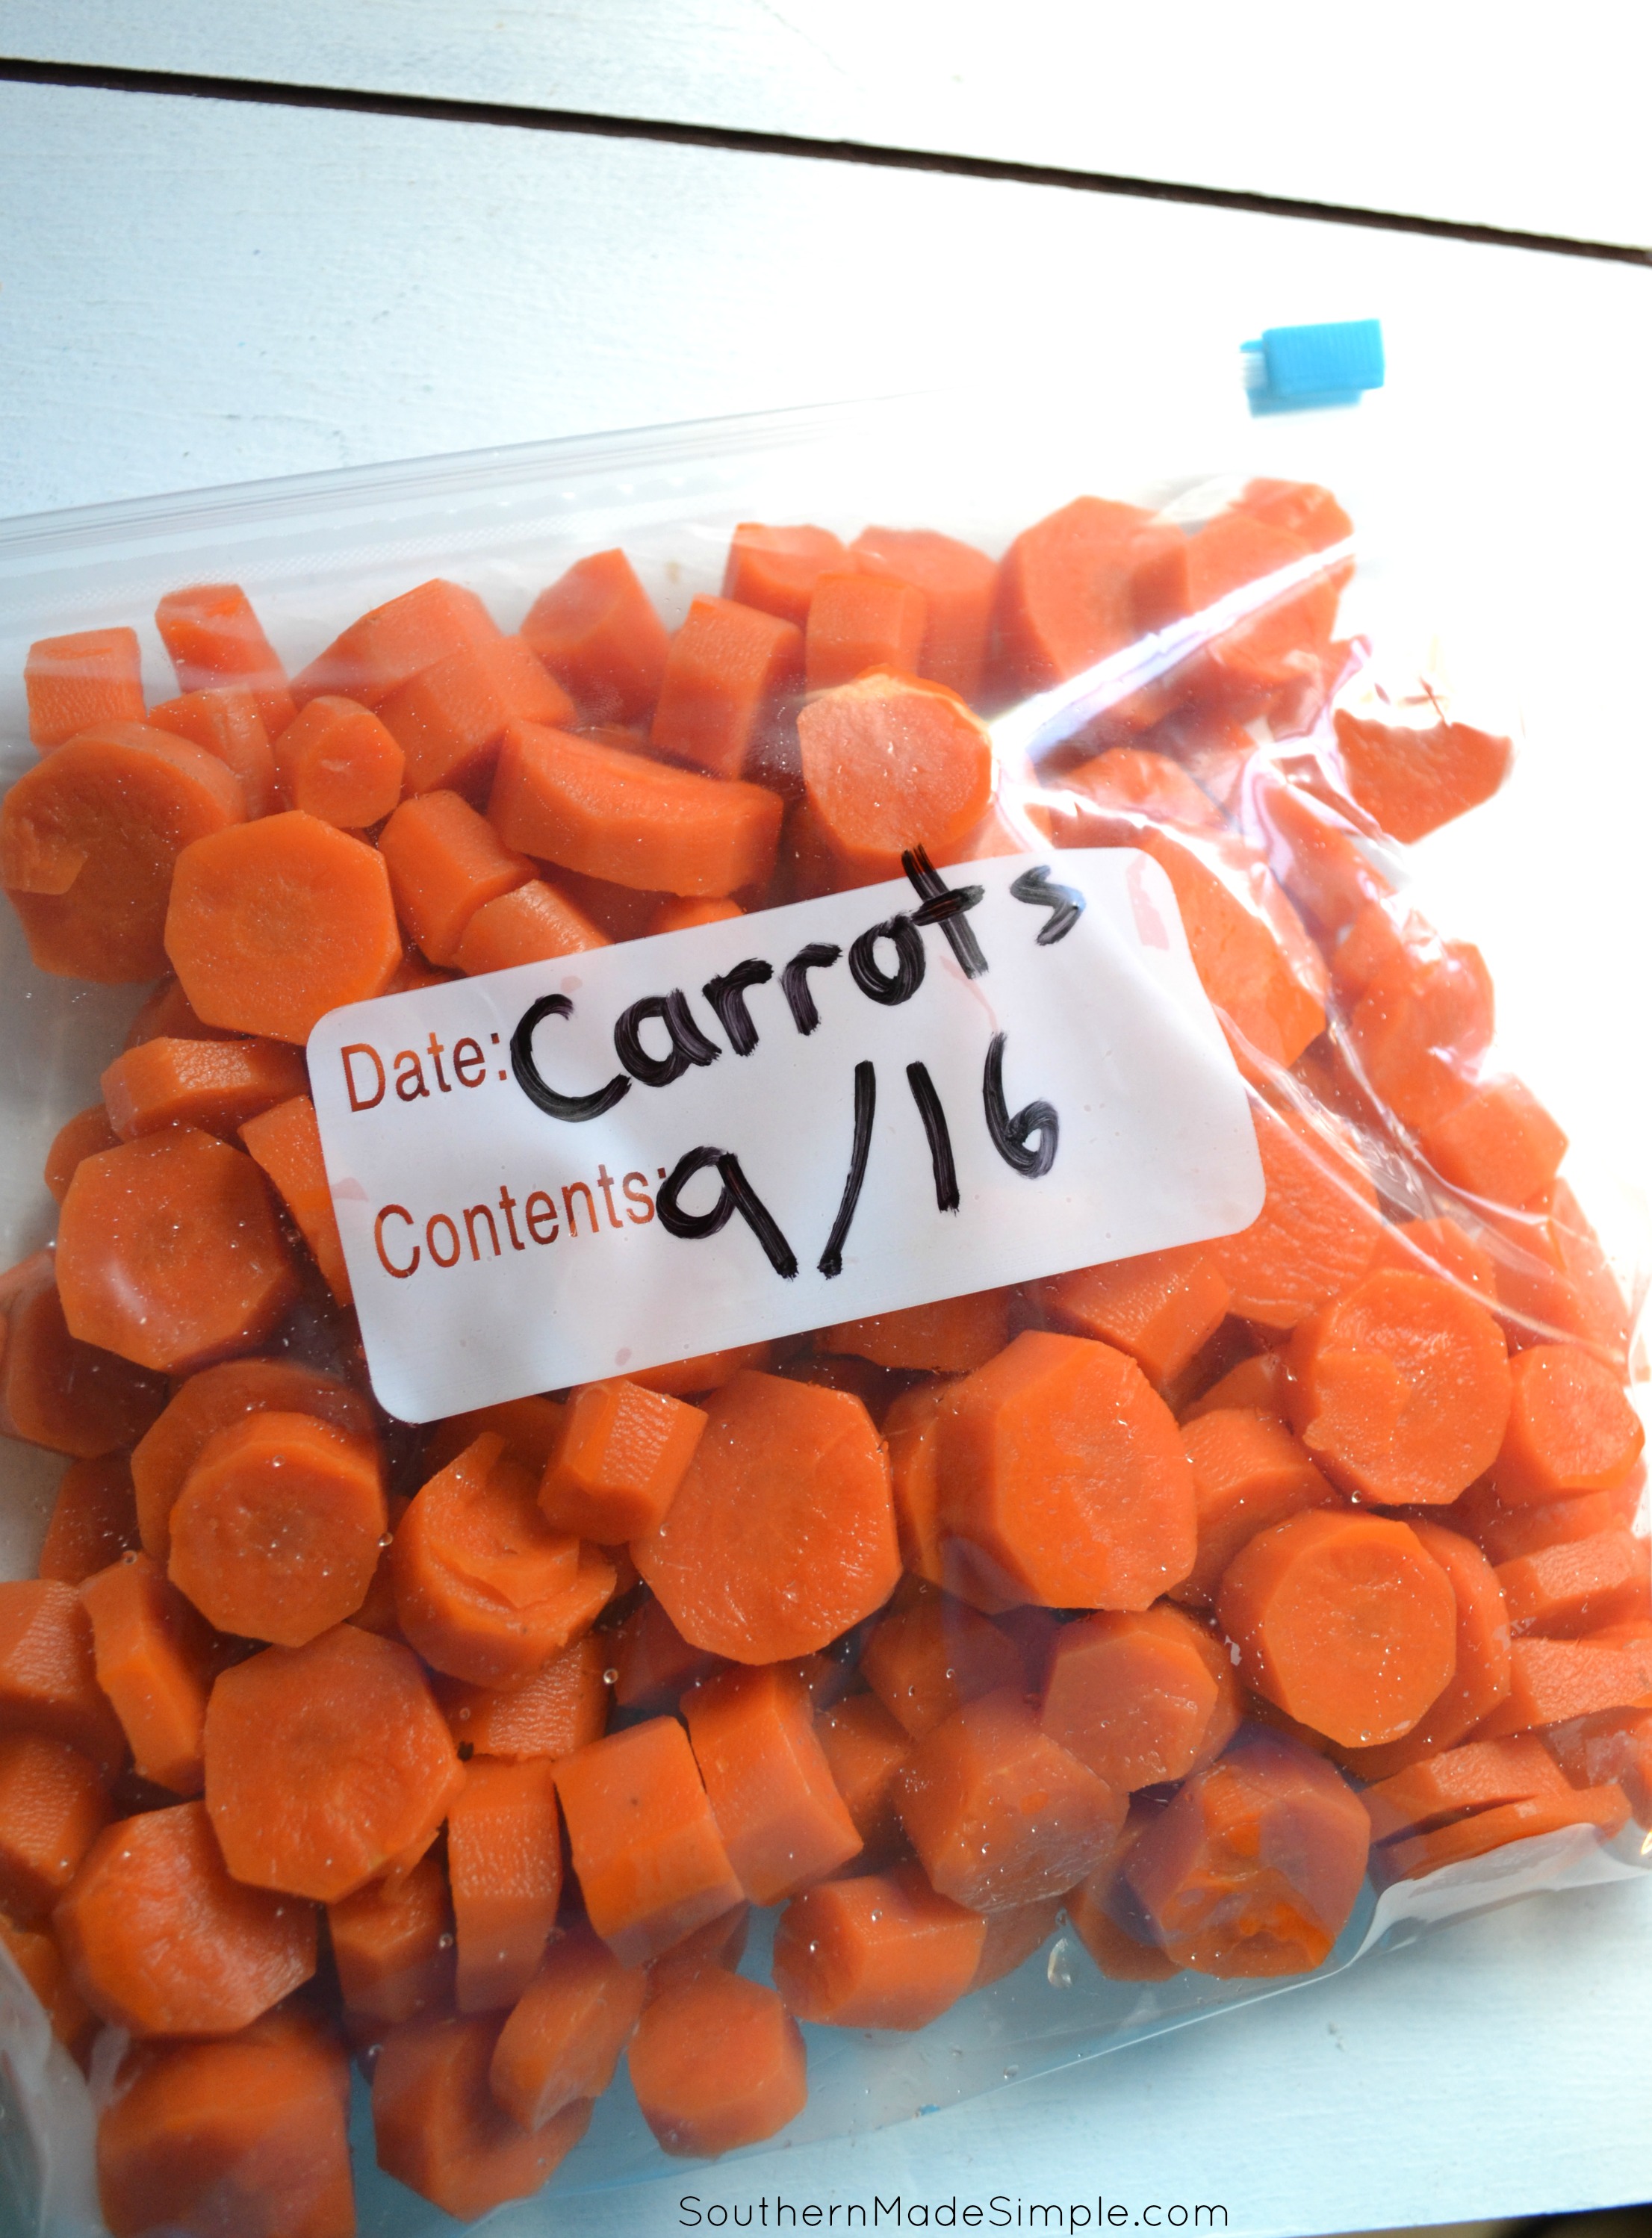
After you strain the water off of the carrots from the ice bath, lay out on the counter on a dish towel and allow to dry. I patted off any excess water to speed up the process. Seal in a freezer safe bag and make sure all excess air is pressed out of bag. Frozen carrots if blanched will last up to a year in the freezer.
It’s a good idea to write the date that you put up the carrots so you have an idea of when they need to be used by. You can also portion them into measurements (2 cups, 1 cup, etc) if you have a special recipe you like to use them in. It makes preparing recipes super easy, and that way you don’t have to thaw out a whole bag of carrots when you only needed half of the bag!
I’m not a huge fan of eating carrots by themselves, but I LOVE them in soups, pot roasts, carrot cake and more! I’m really looking forward to making a big batch of homemade chicken noodle soup and using these carrots once it starts getting colder outside! What’s your favorite recipe to use carrots in?
Click here to read my post about how to freeze fresh tomatoes!
Leave a Reply